
How to send your first document for signature
Welcome to this introductory video on how to create a contact and send your first form for signature.
Go to app.aorforms.com
1. Introduction
This comprehensive guide will walk you through each precise step in using Aorforms to seamlessly send your first document for signature.

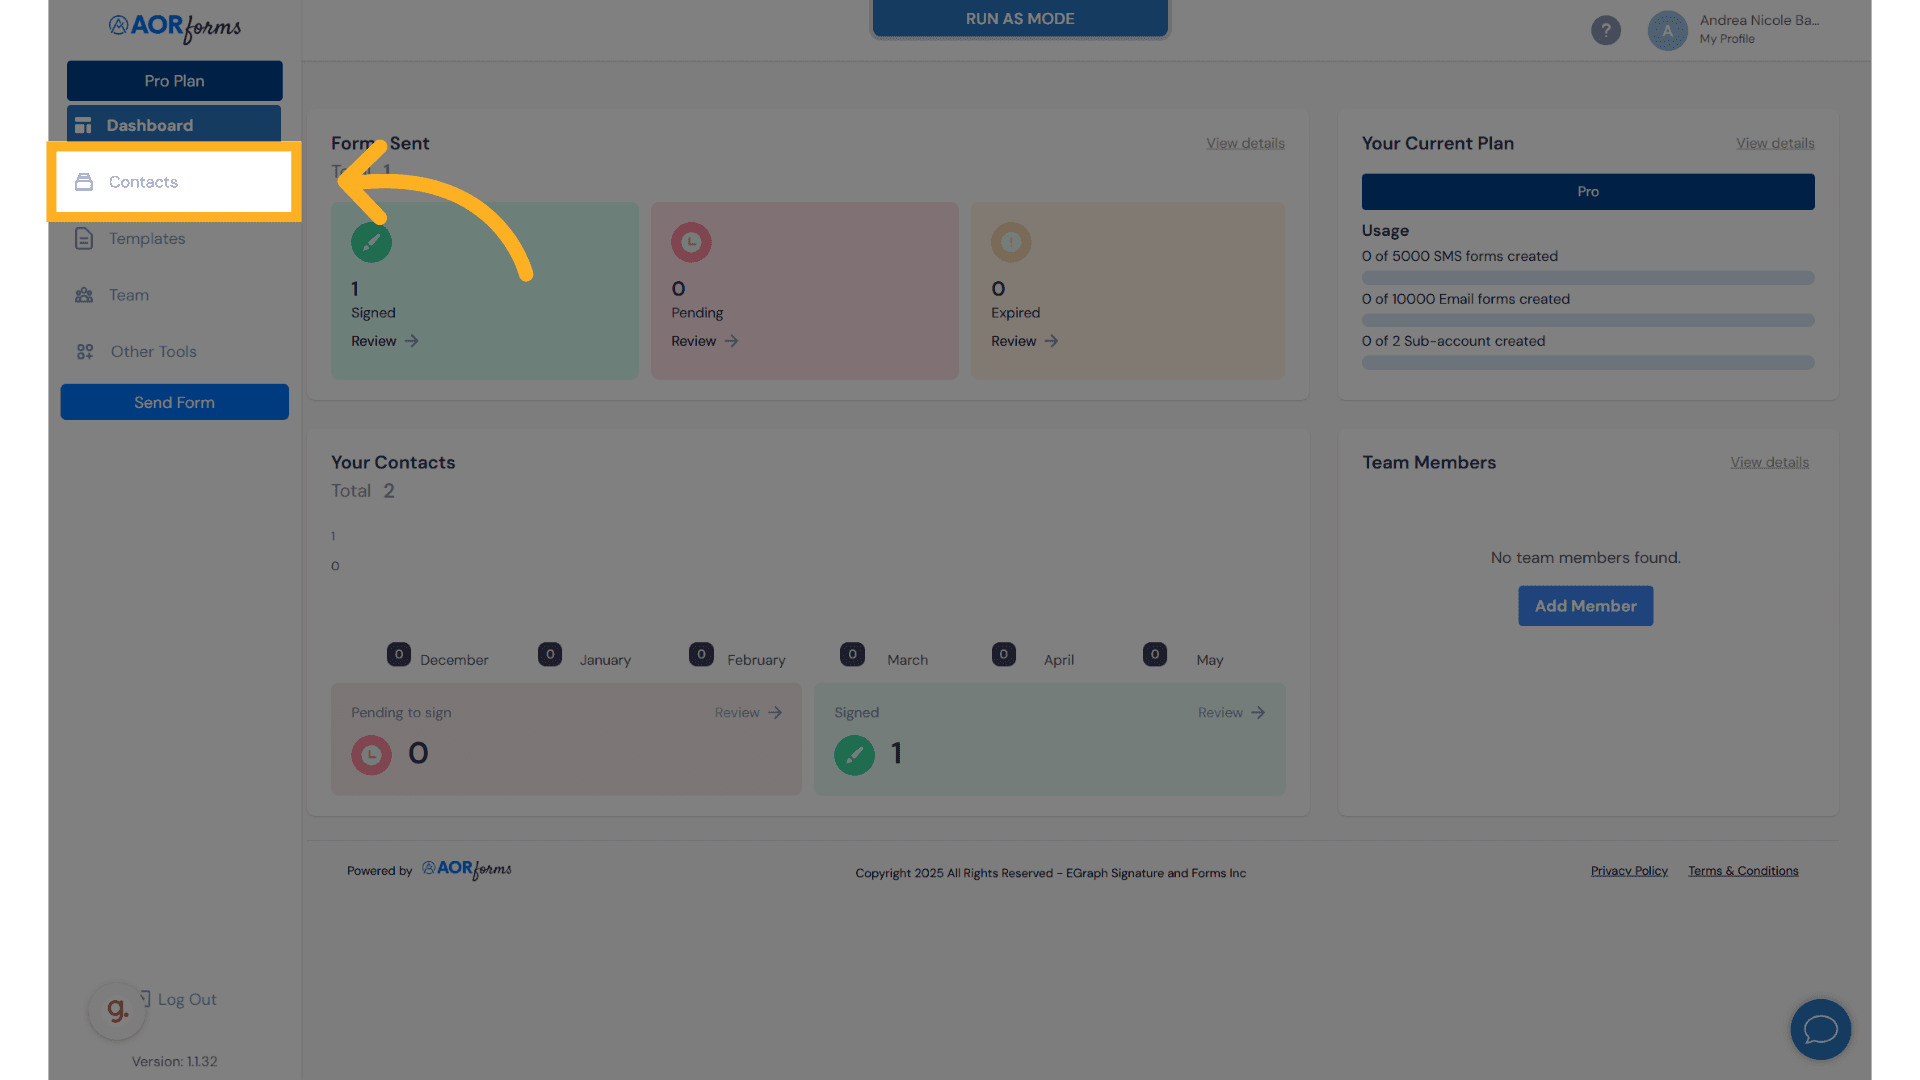
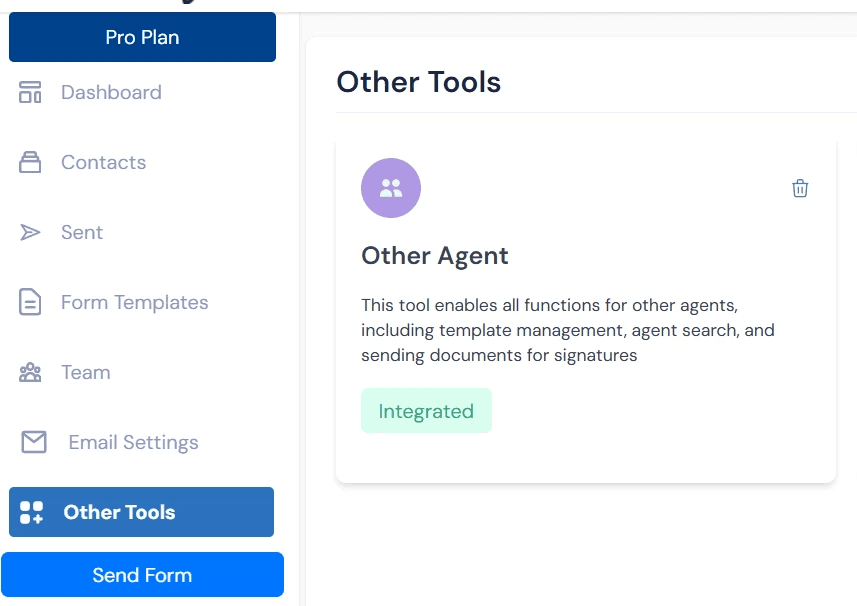
2. Click "Contacts"
Access the Contacts section.
3. Click "+ Add Contact"
Add a new contact by clicking the "+ Add Contact" button.

4. Click "First Name"
Enter the first name of the contact.

5. Fill "Jane"
Fill in your contact's first name.

6. Go here
Navigate to a specific section.

7. Fill "Smith"
Enter "Smith" in the provided field

8. Go here
Navigate to a specific section.

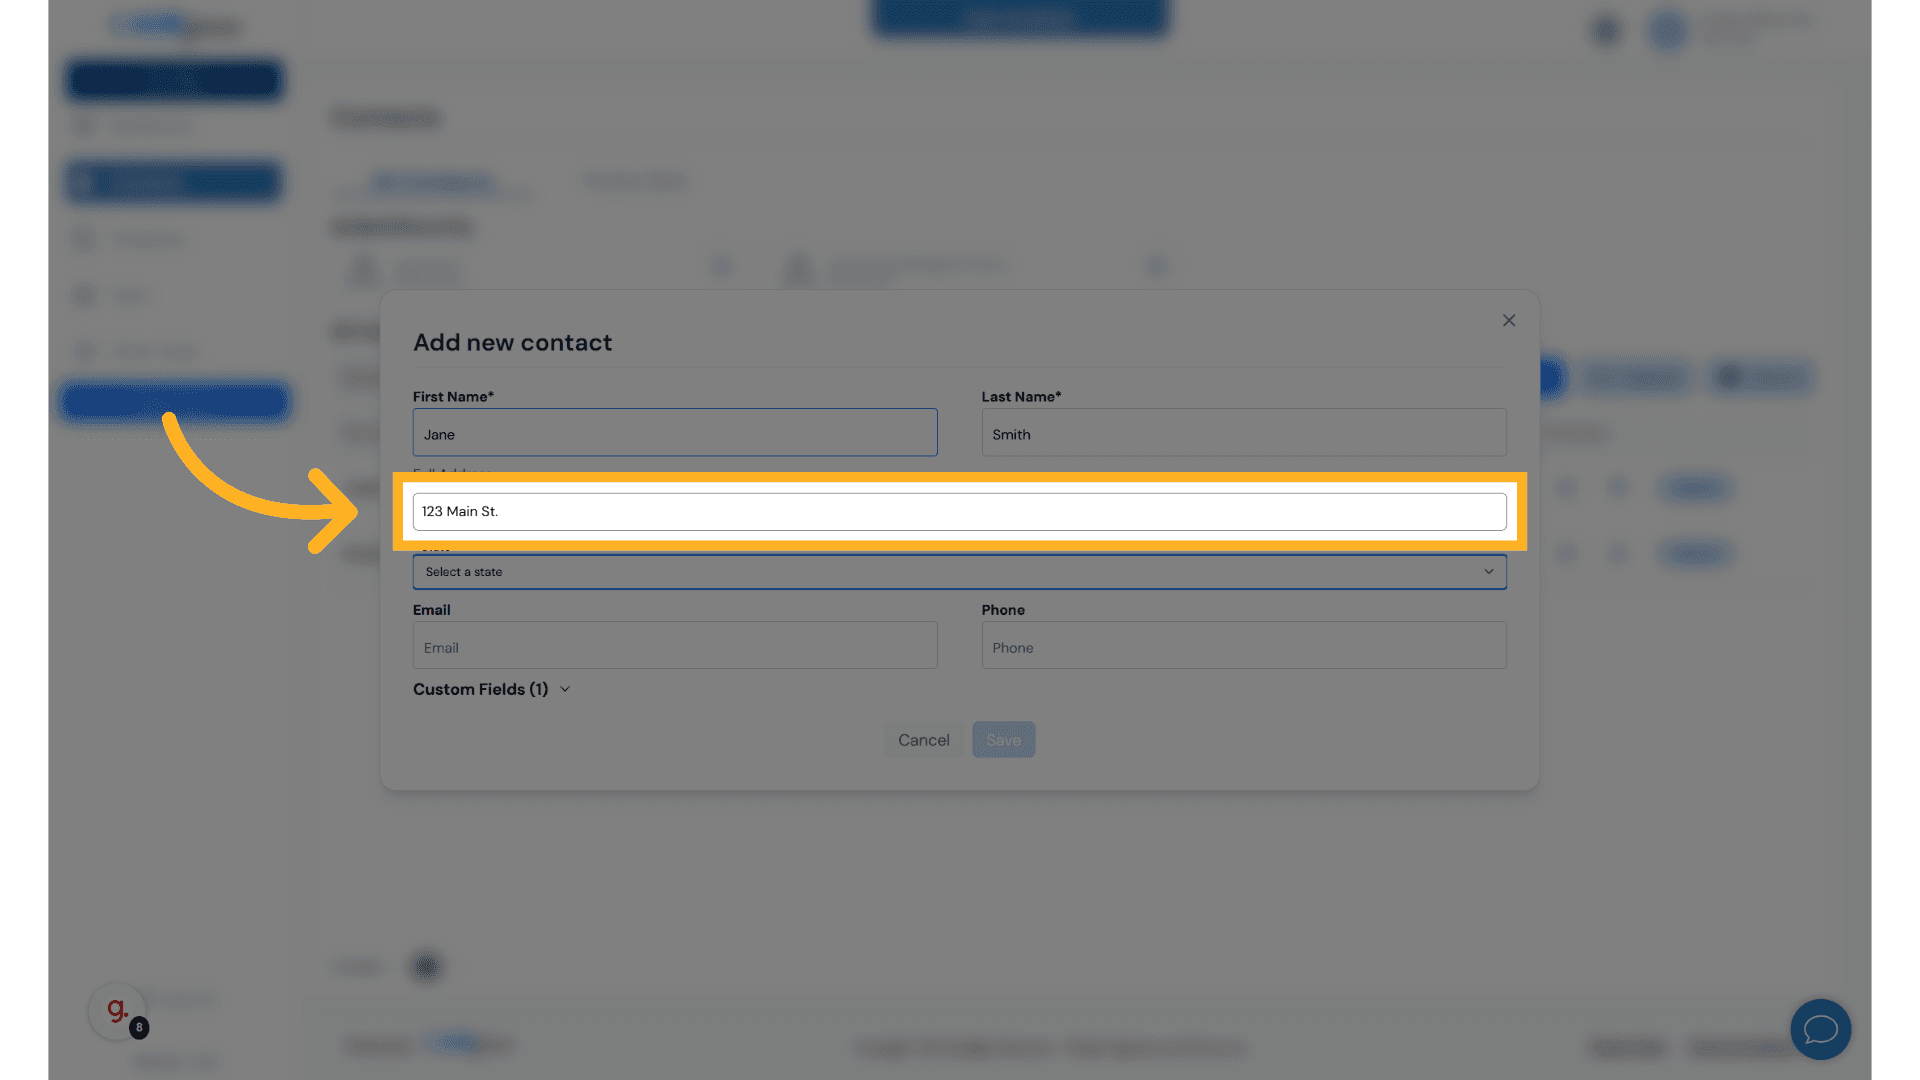
9. Fill "123 Main St."
Fill in the text box with "123 Main St."
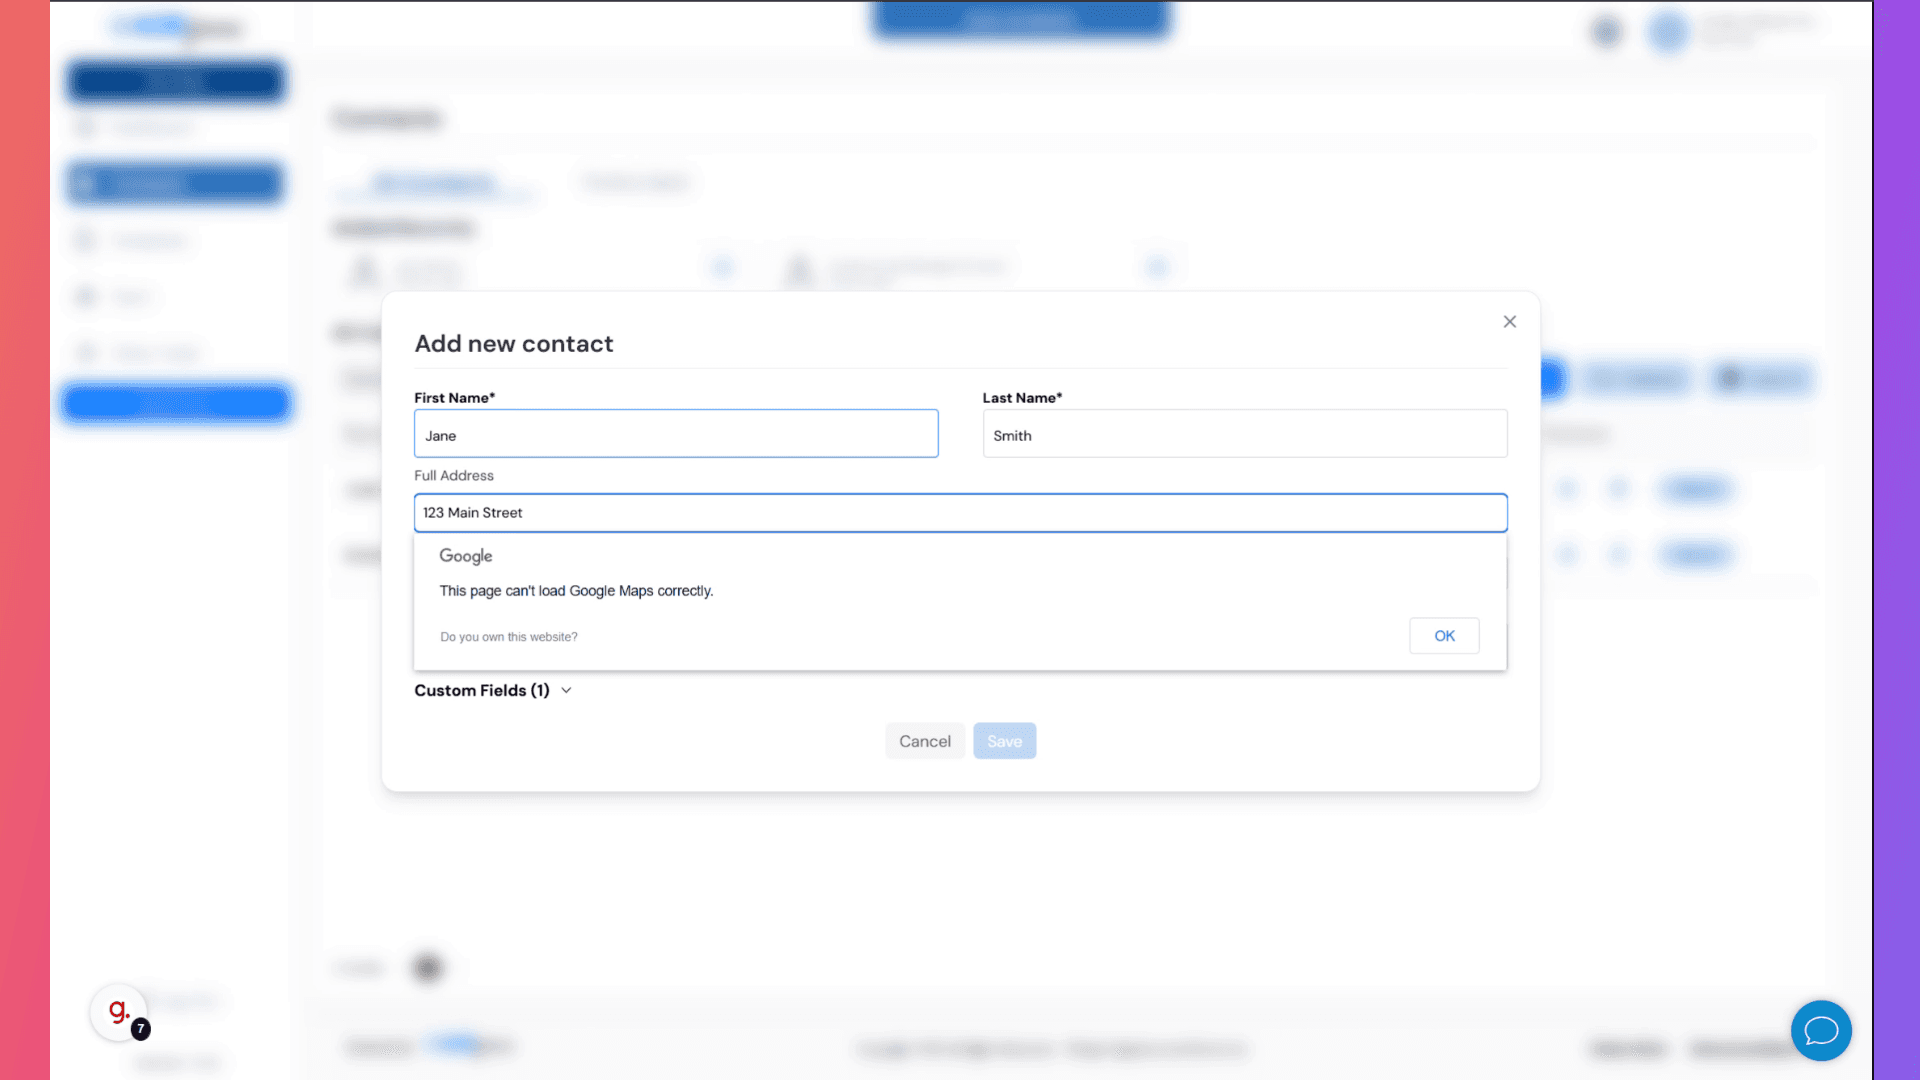
10. Fill "123 Main St."
Enter the contact's address as "123 Main St."
11. Go here
Navigate to a specific section.
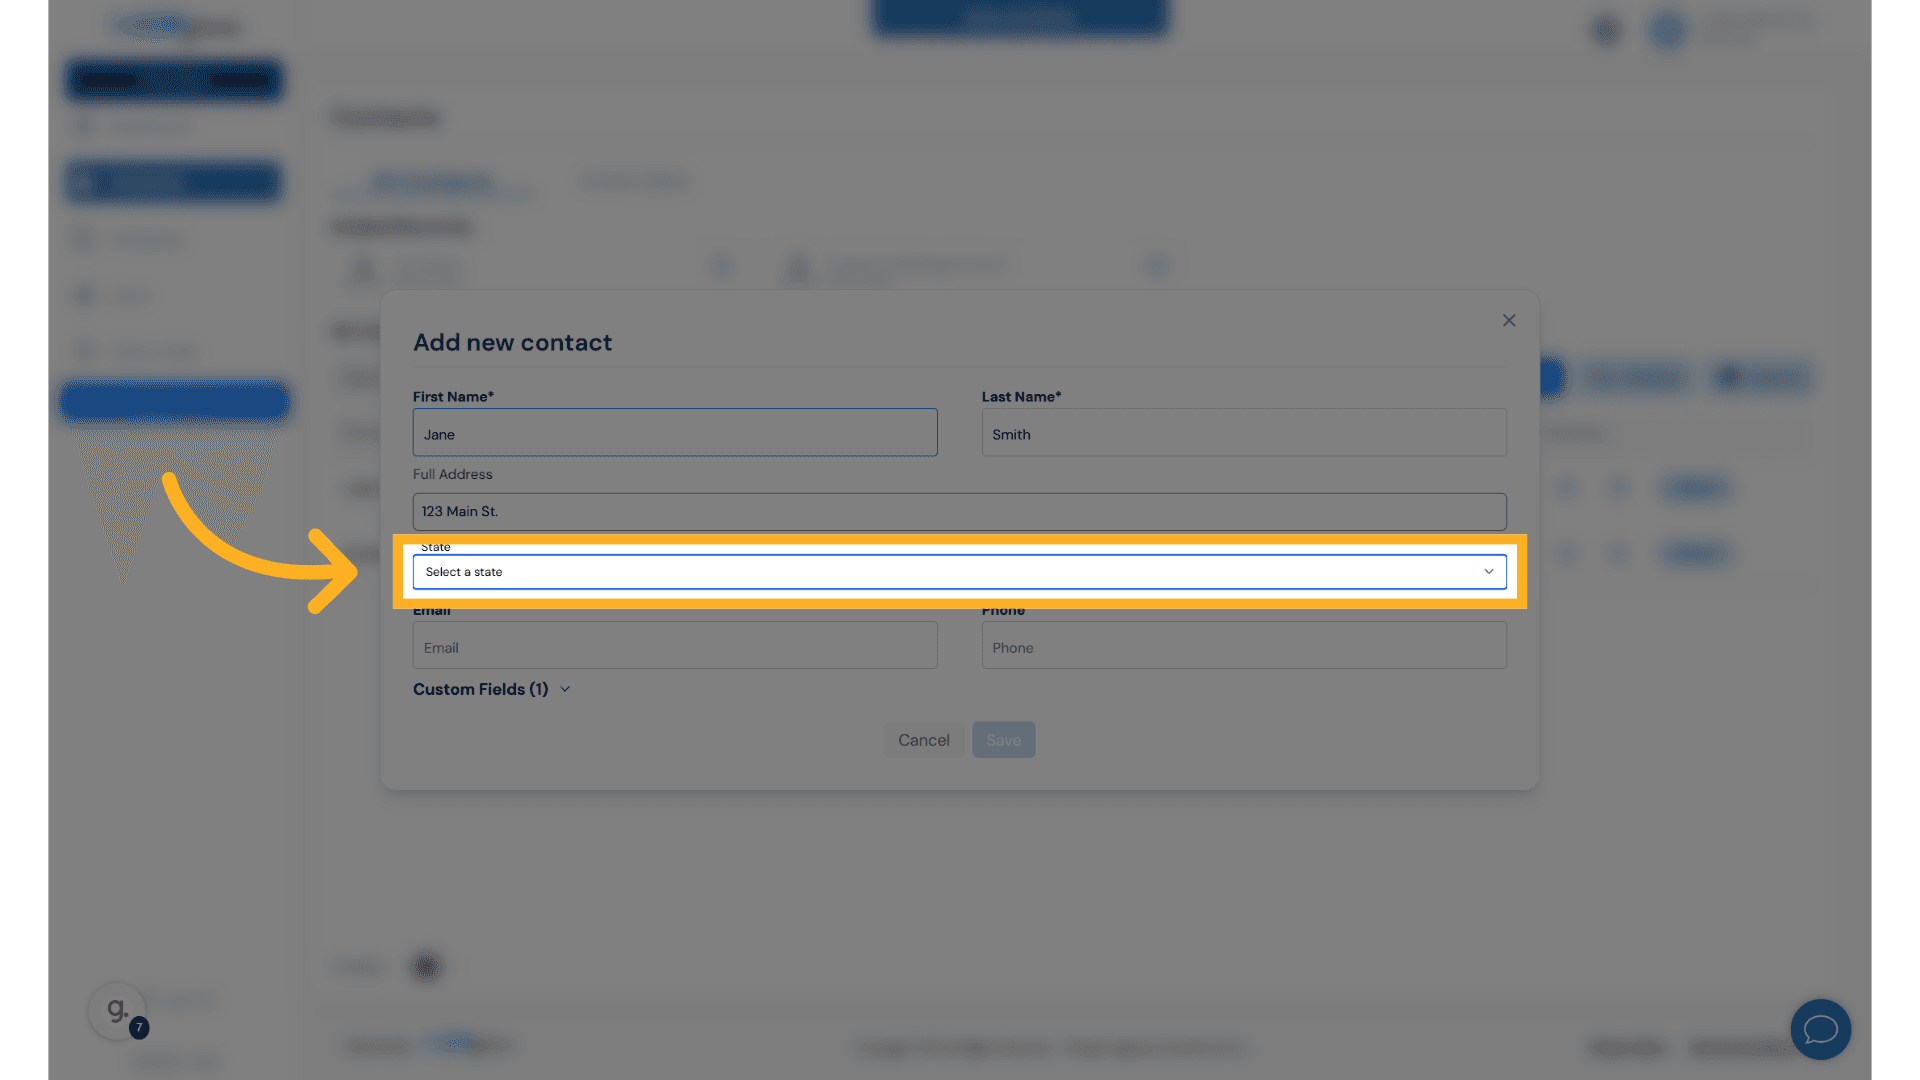
12. Fill "Select a..."
Type "Select a..." in the given field
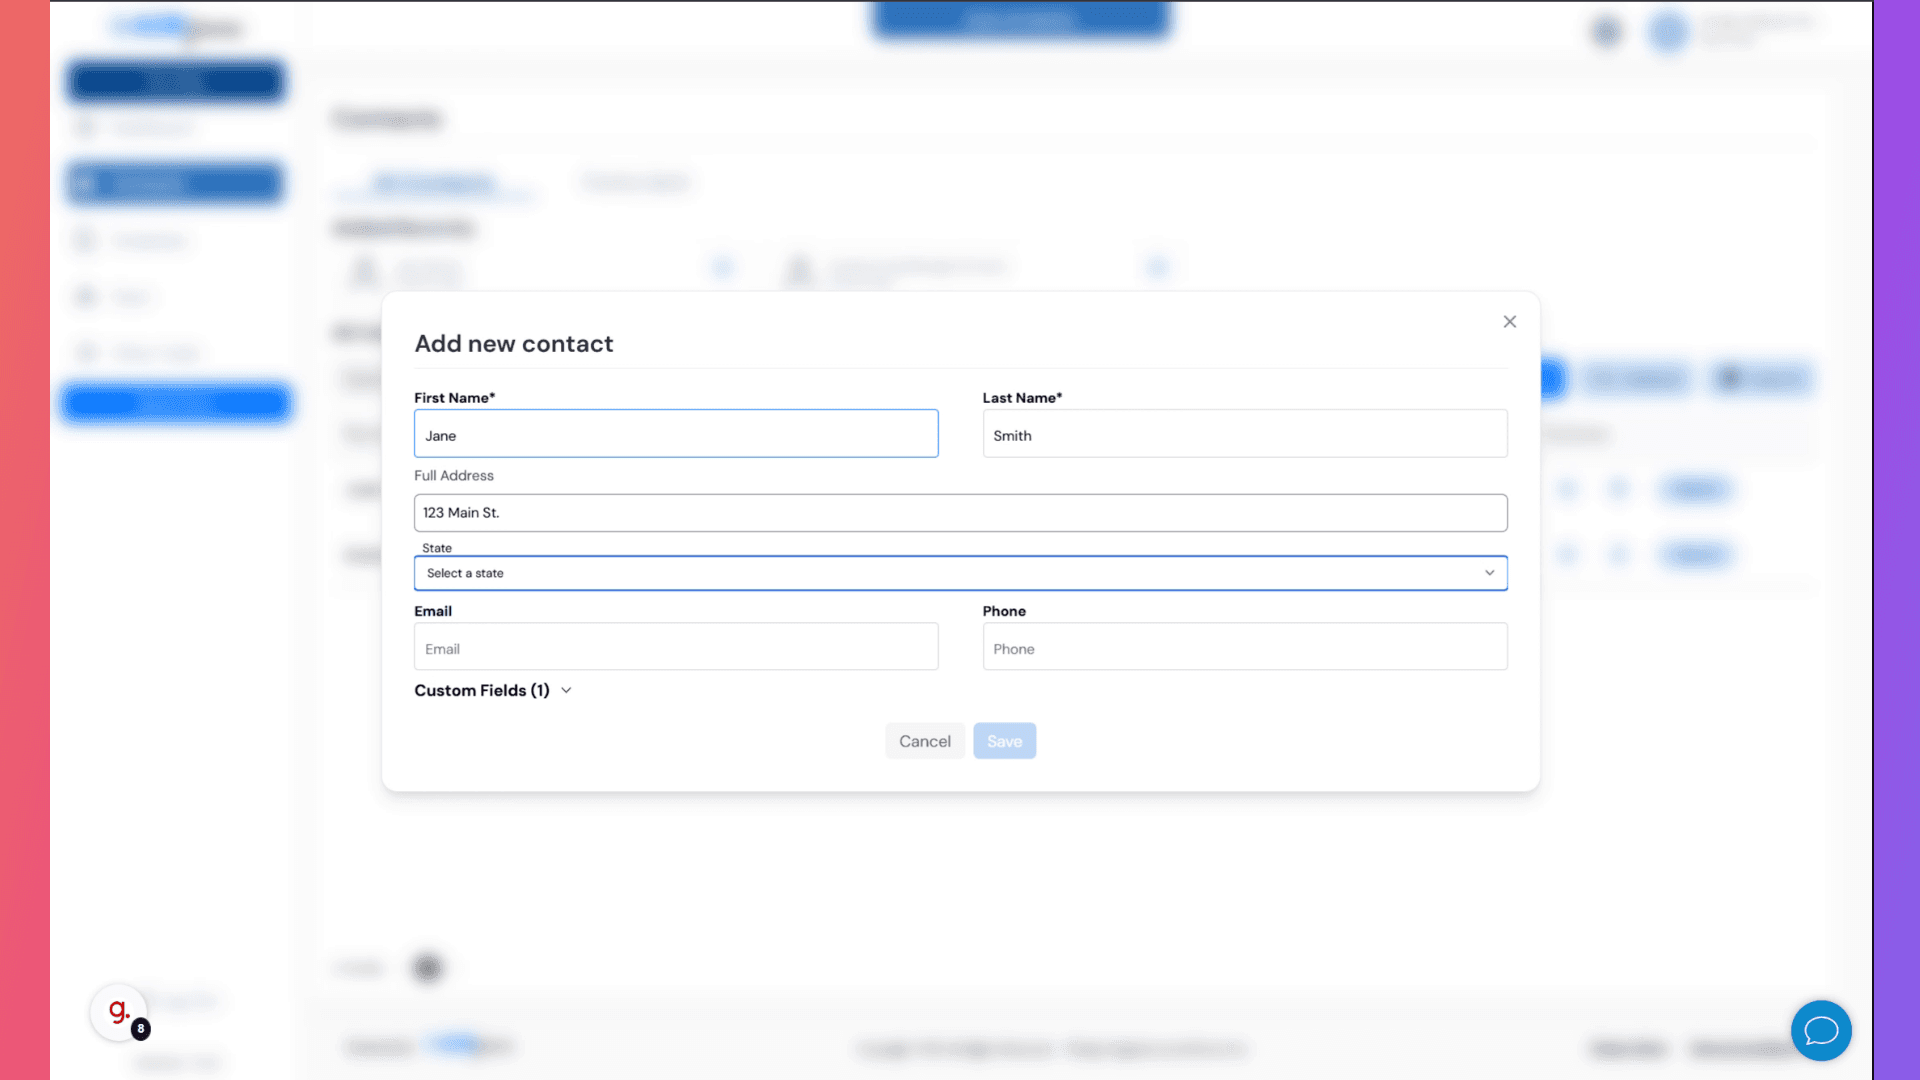
13. Go here
Navigate to a specific section.

14. Fill "jane2"
Input "jane2" in the available field
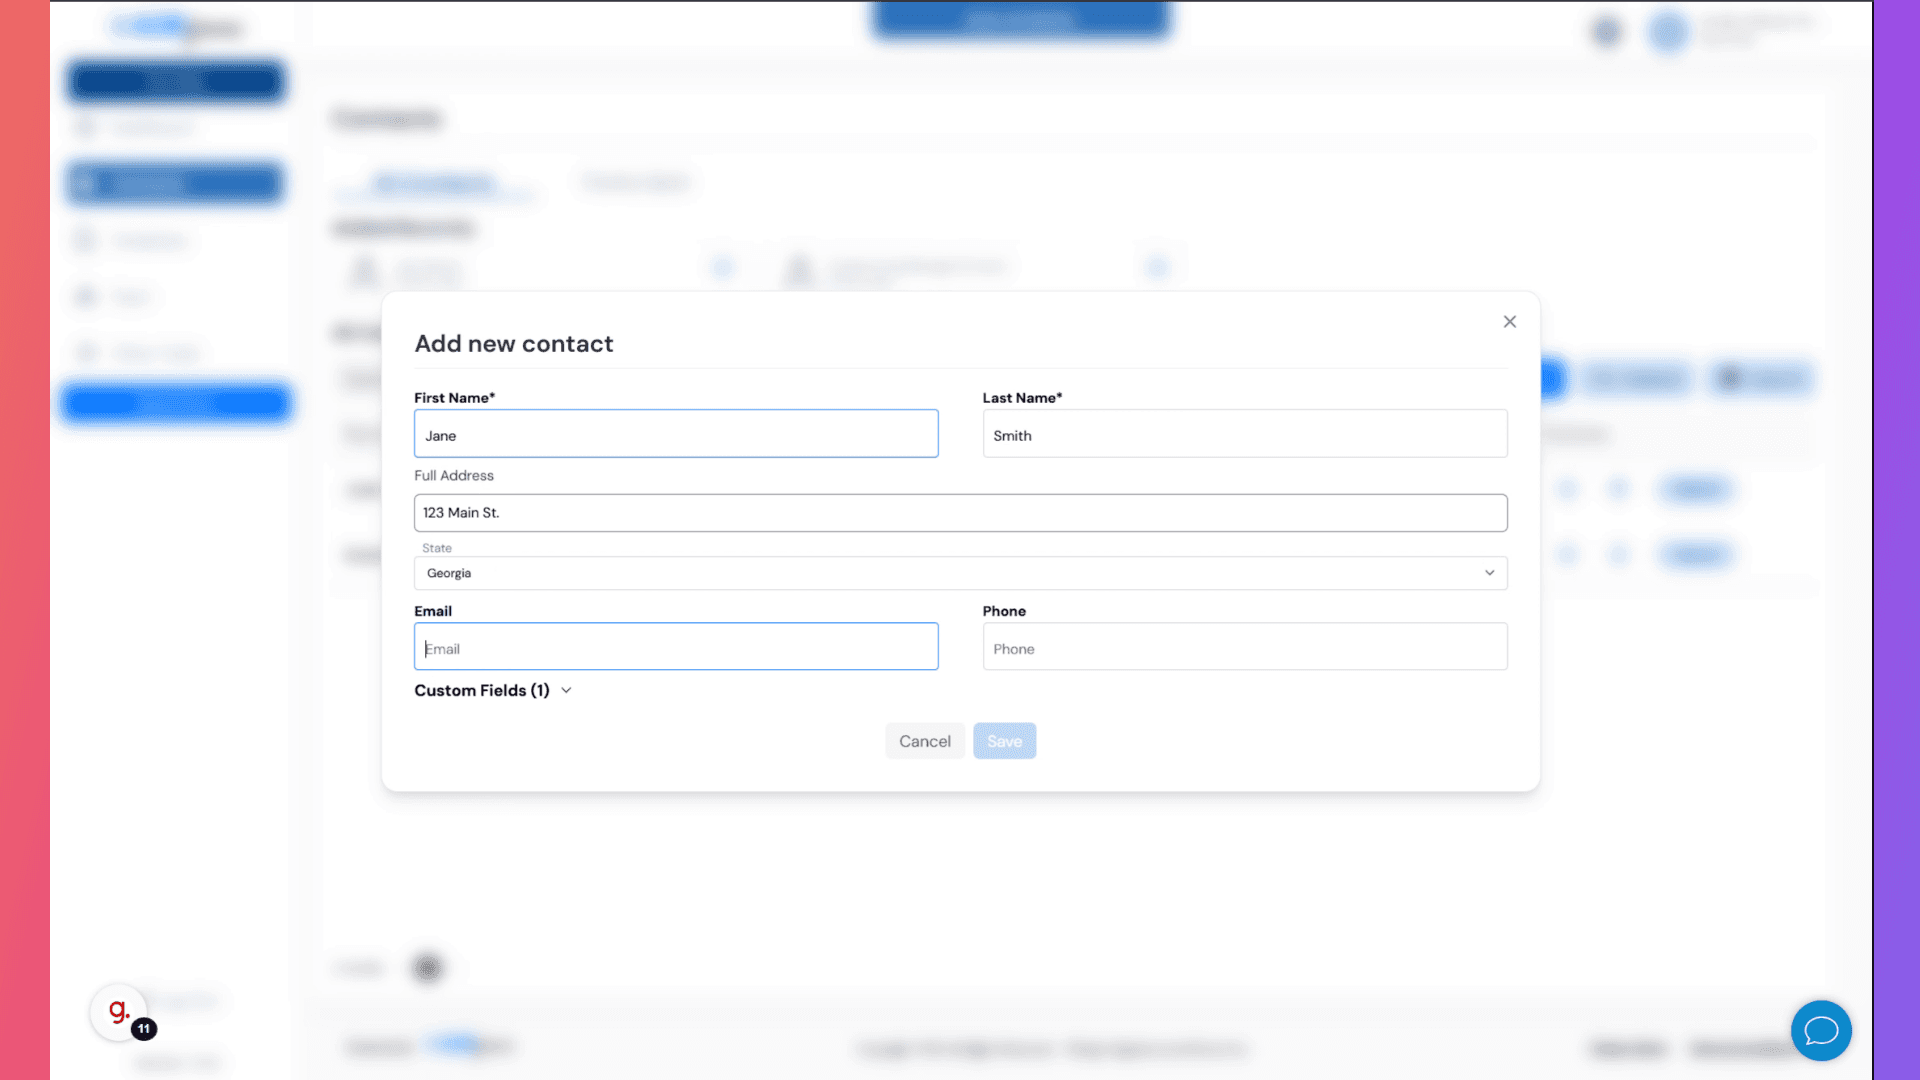
15. Fill "janesmith@gmail.com"
Enter the email address as "janesmith@gmail.com."
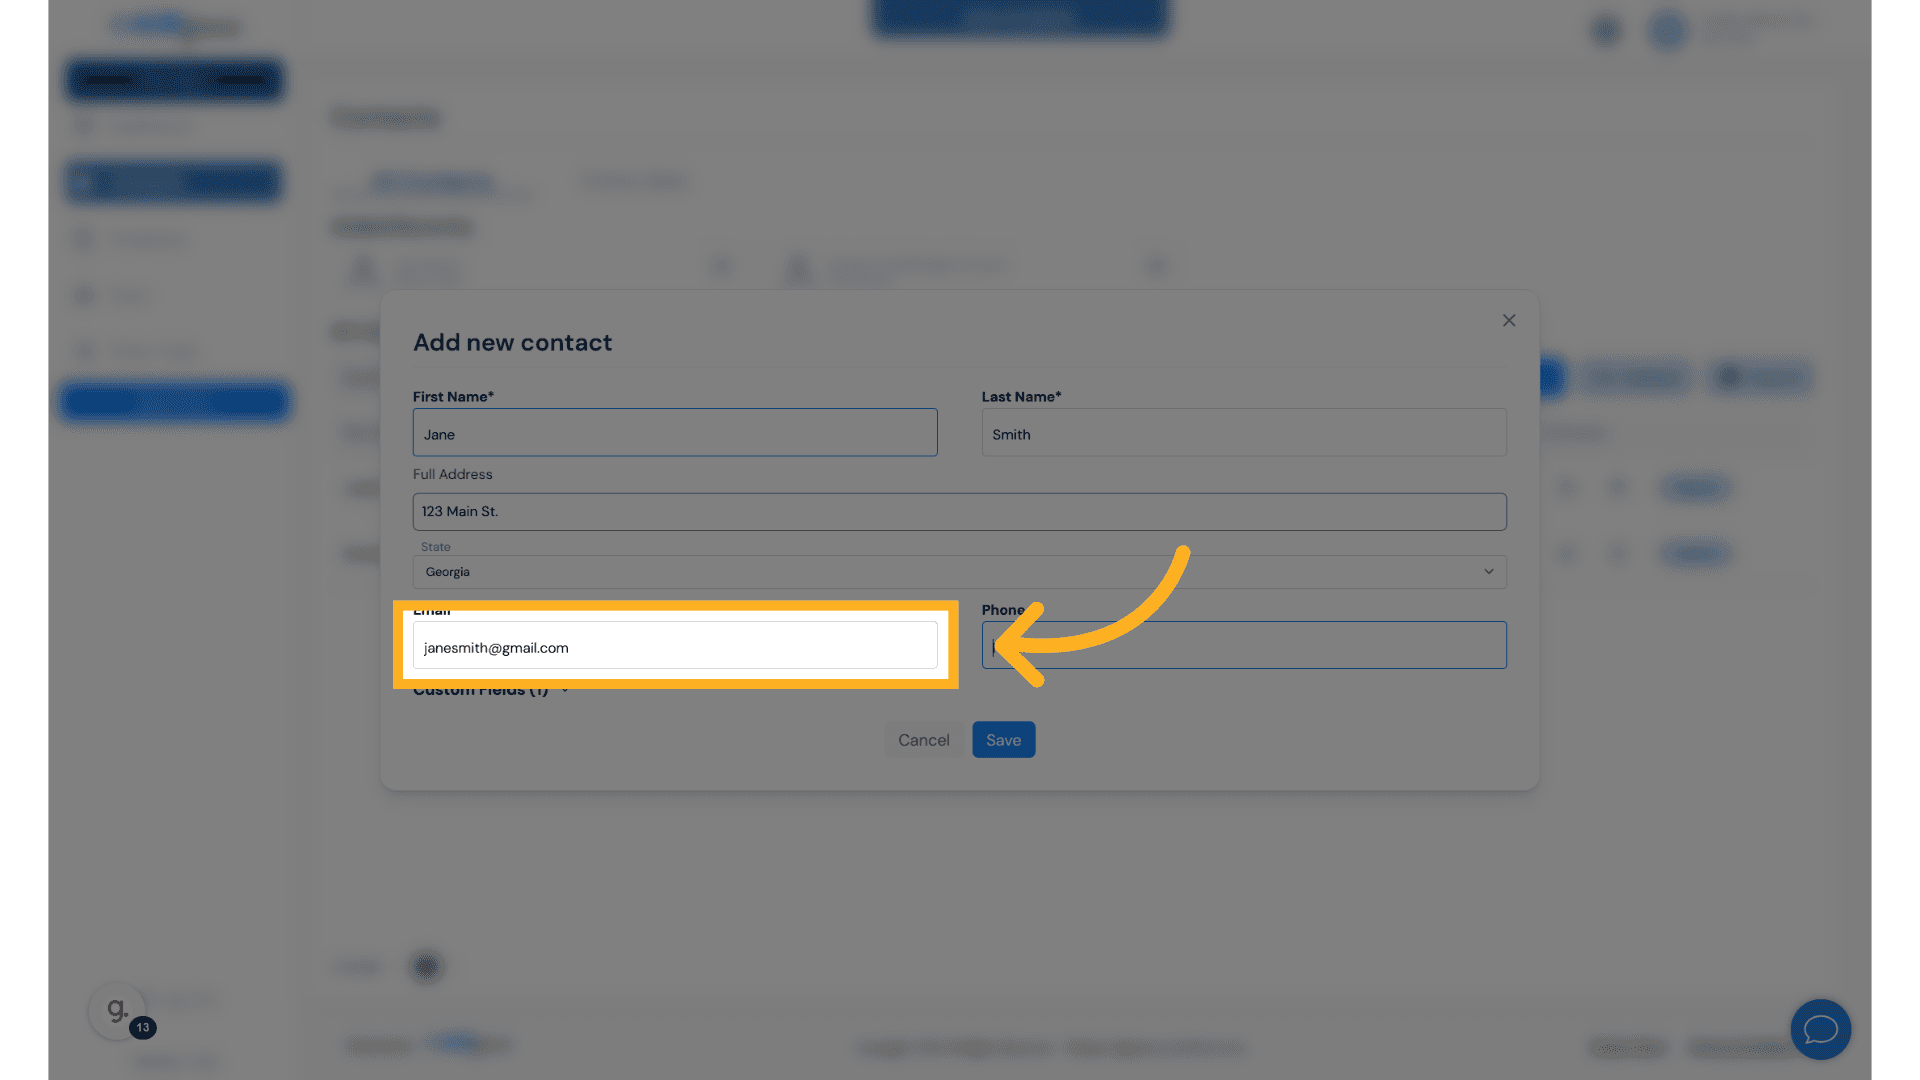
16. Go here
Navigate to a specific section.
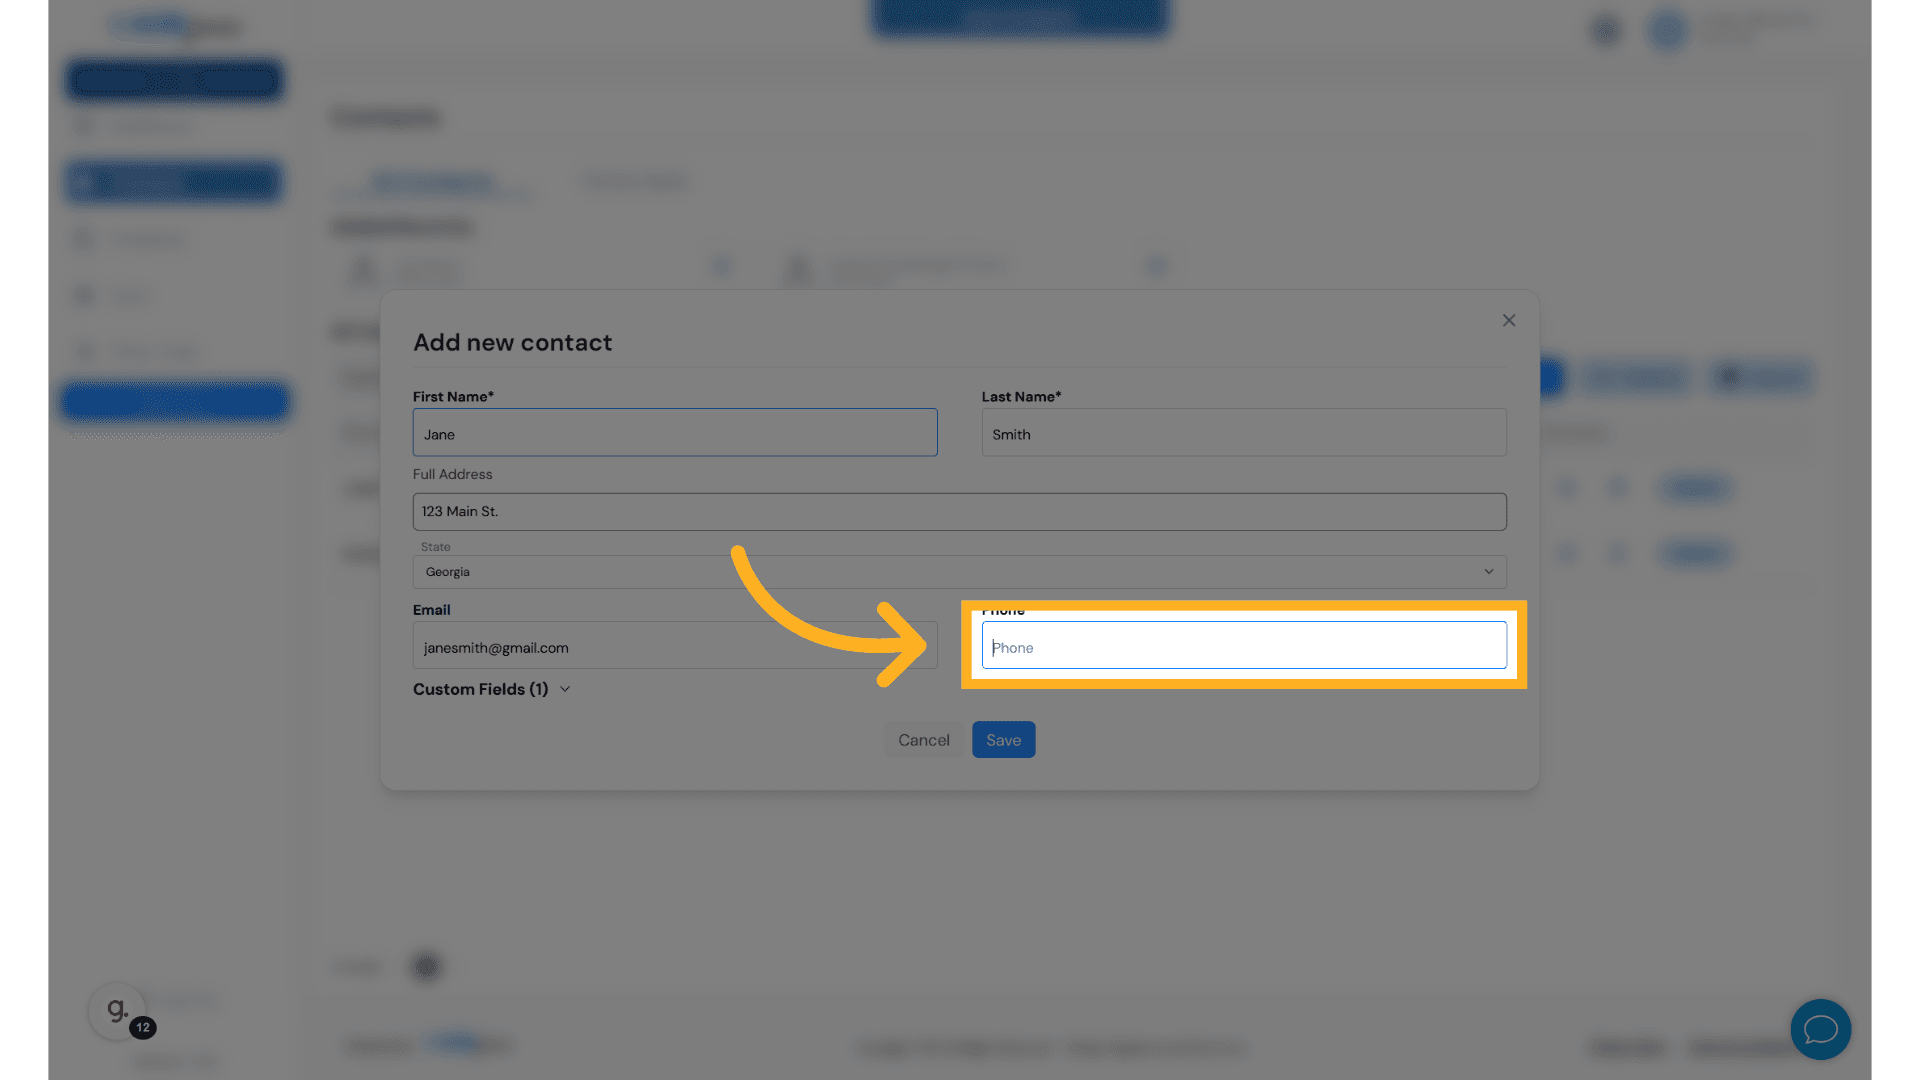
17. Fill "+1 (555) 555"
Submit "+1 (555) 555" in the appropriate field

18. Fill "+1 (555) 555-1234"
Enter the phone number as "+1 (555) 555-1234."

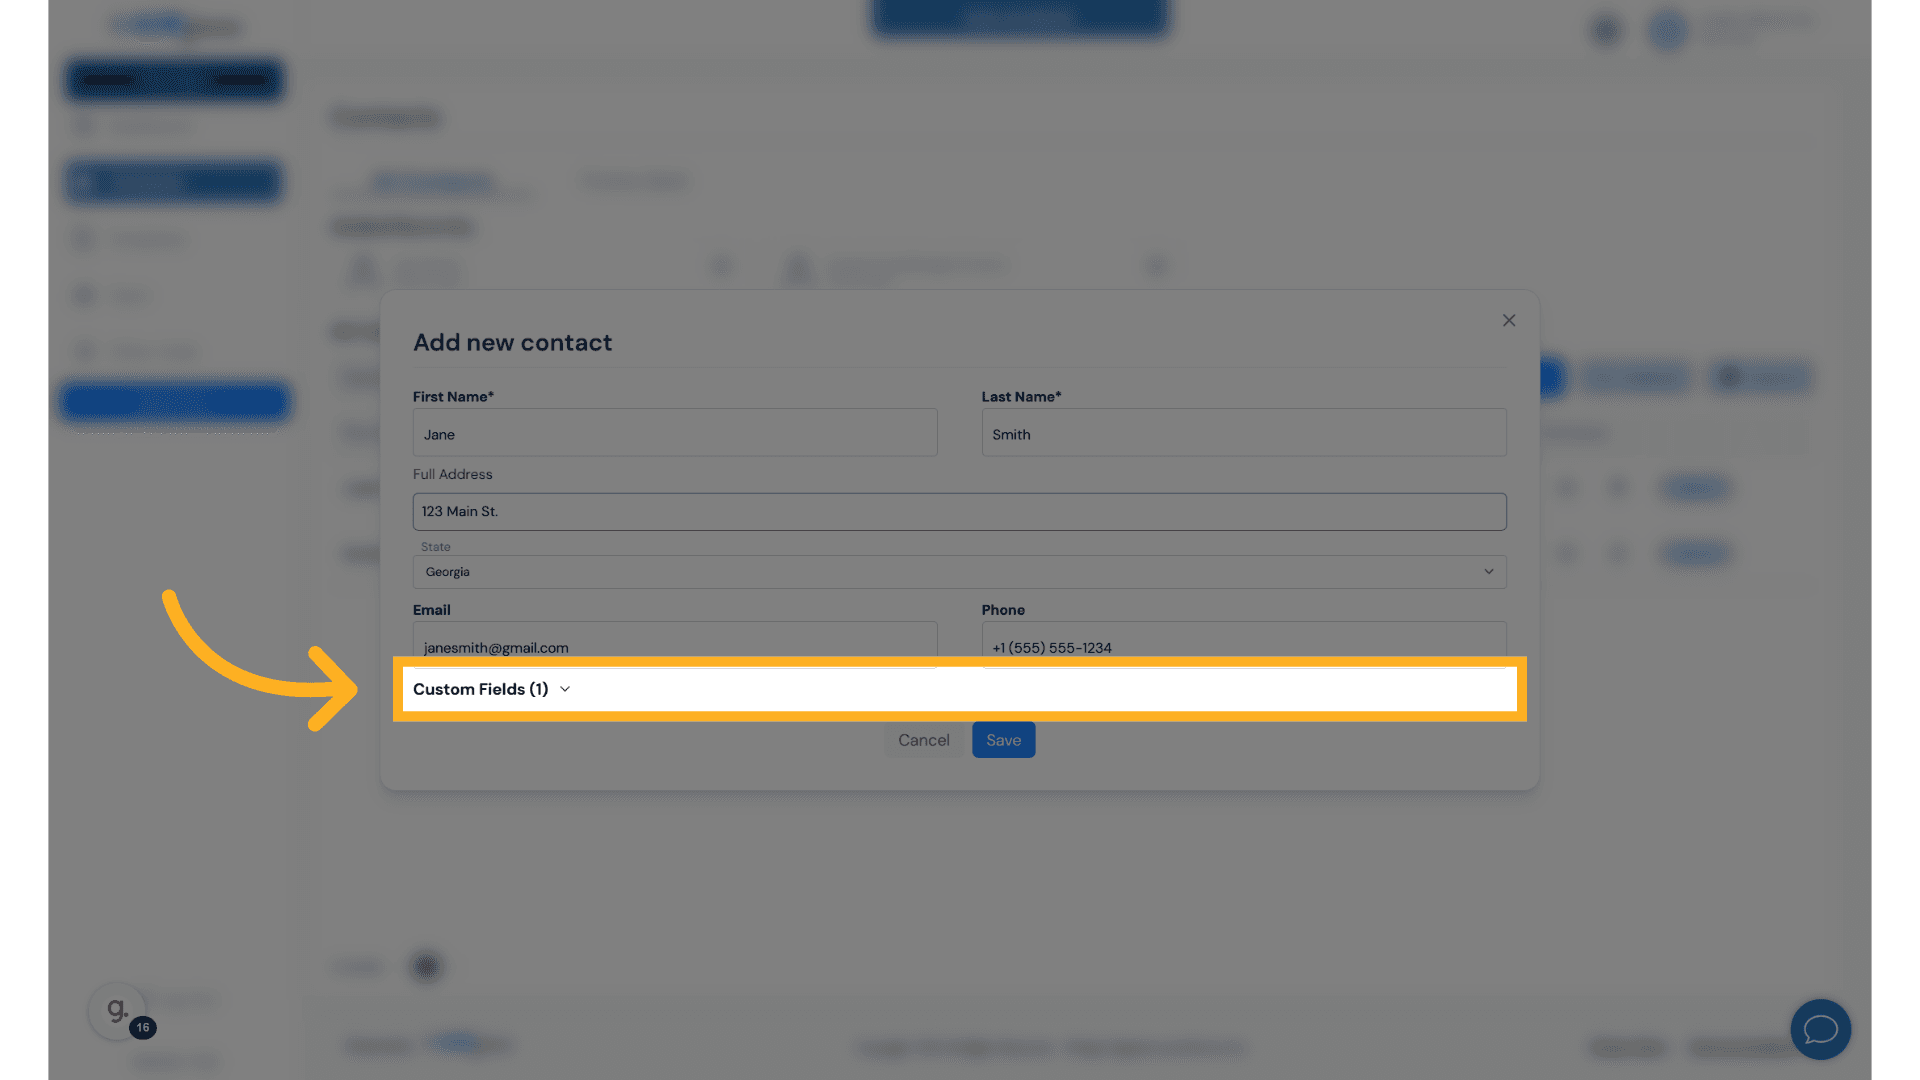
19. Click "Custom Fields (1)"
Access the Custom Fields section.
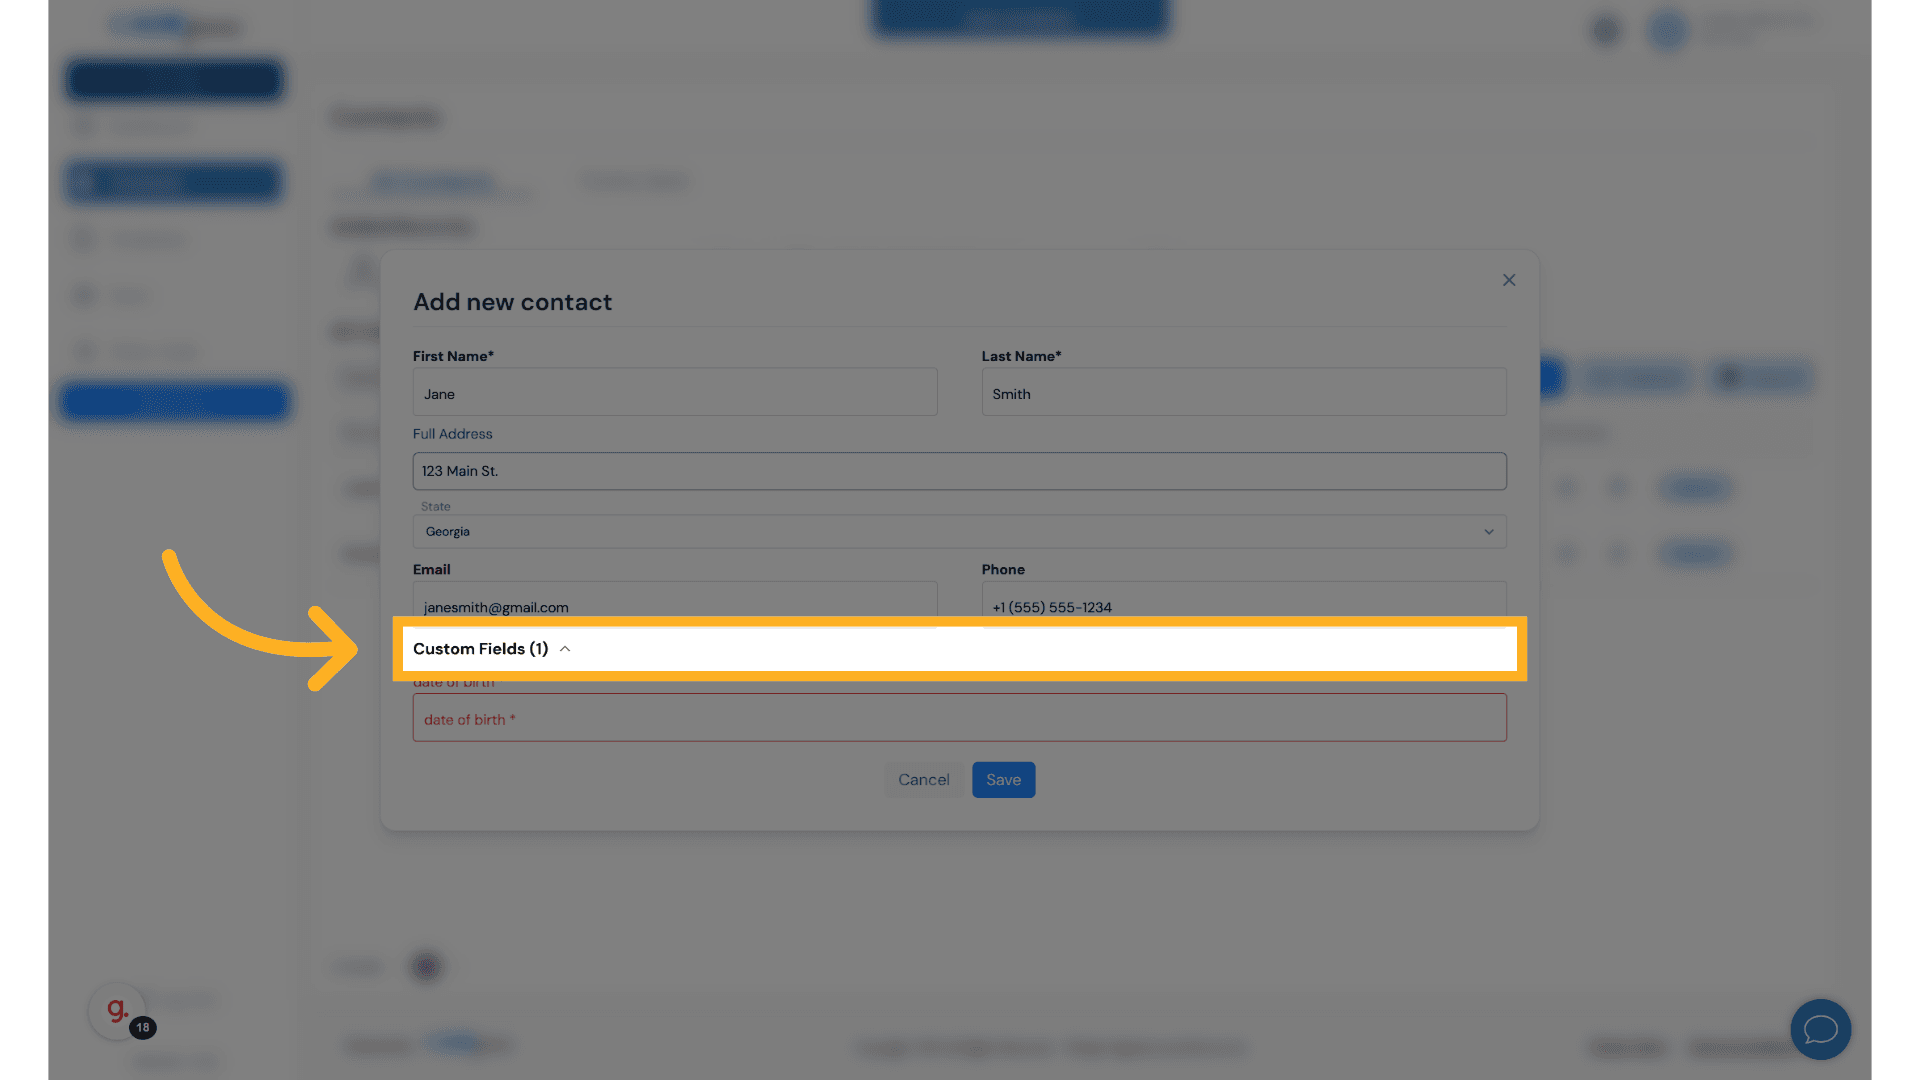
20. Click "Custom Fields (1)"
Access the Custom Fields section.
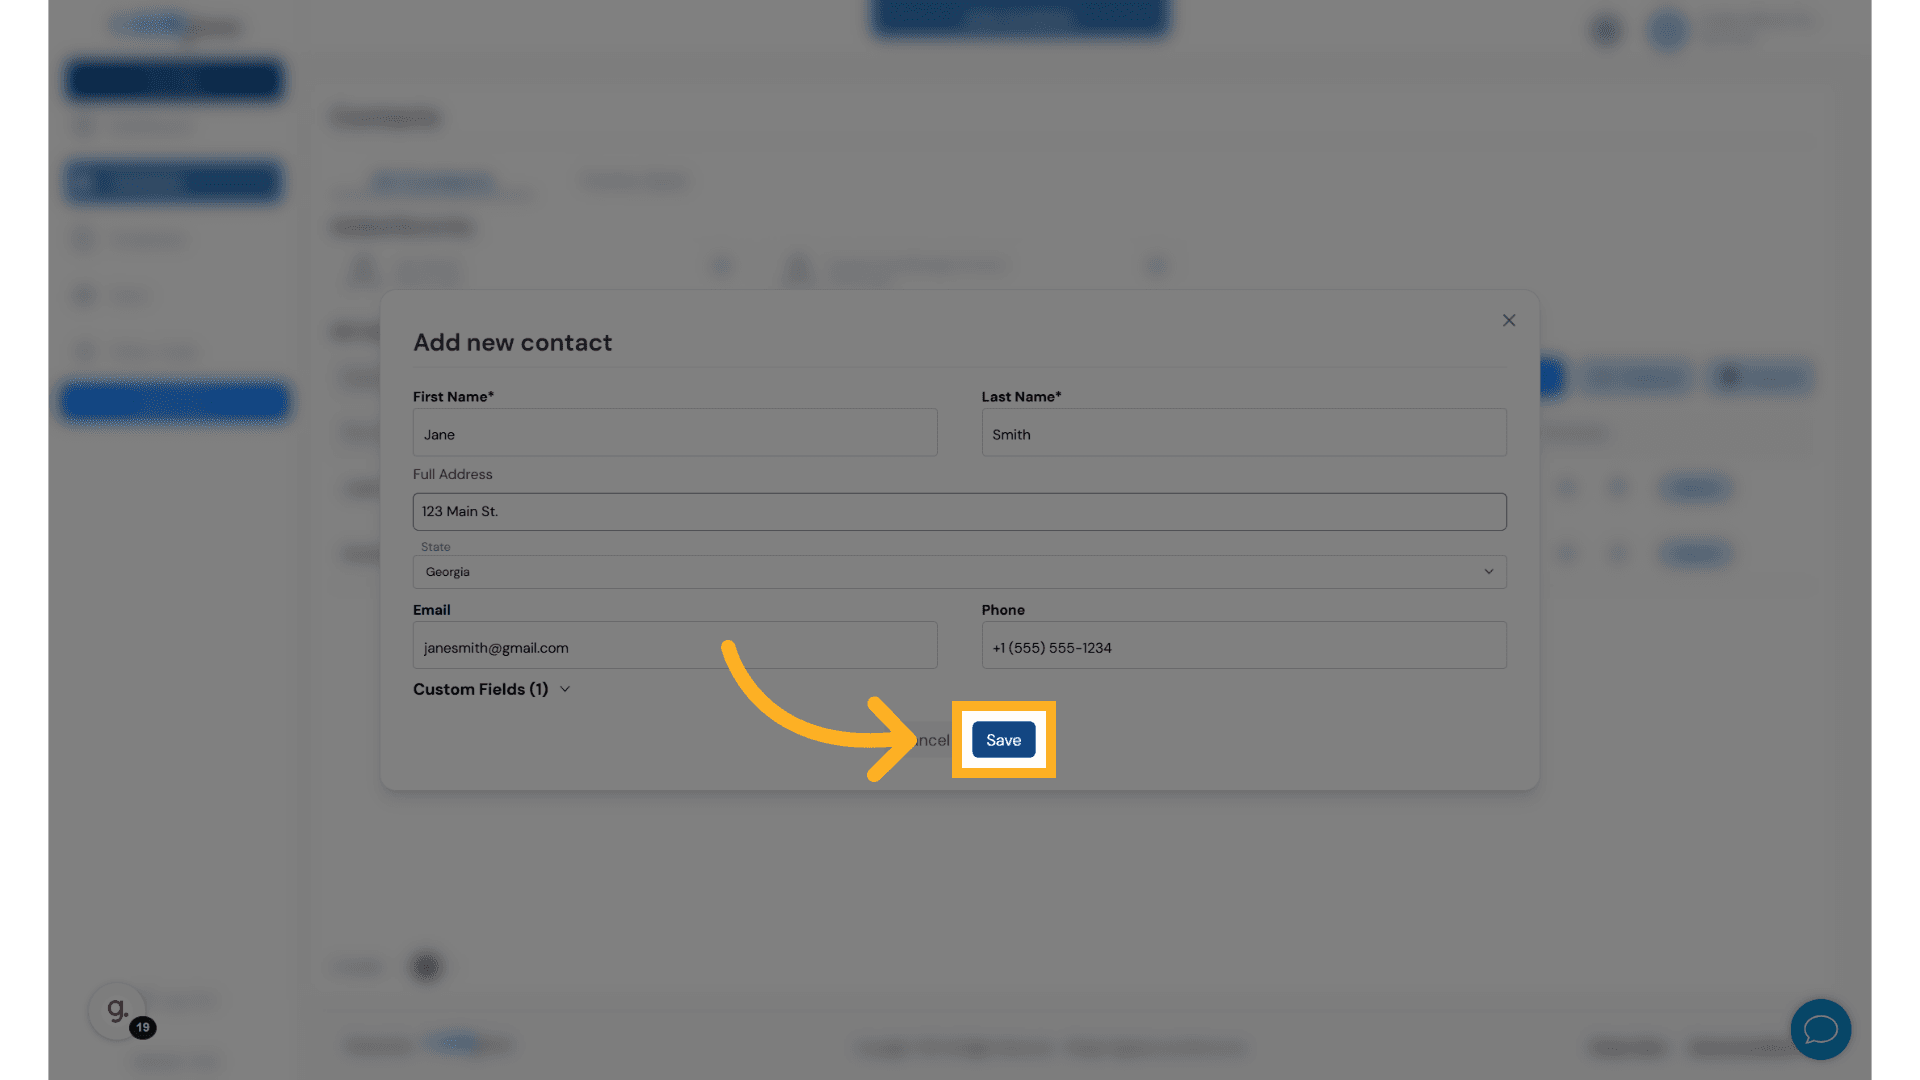
21. Click "Save"
Save the contact information.
22. Click "Templates"
Access the Templates section.

23. Click "TemplatesAll TemplatesLibrary+ CreateTemplateCreated OnUsedStatusActionsMedicare Scope Of Appointment SOA11/05/20241 timesActiveSend1 Results<1>"
Select the specific template.

24. Click "Library"
Access the Library section.

25. Click "Import"
Import a document.

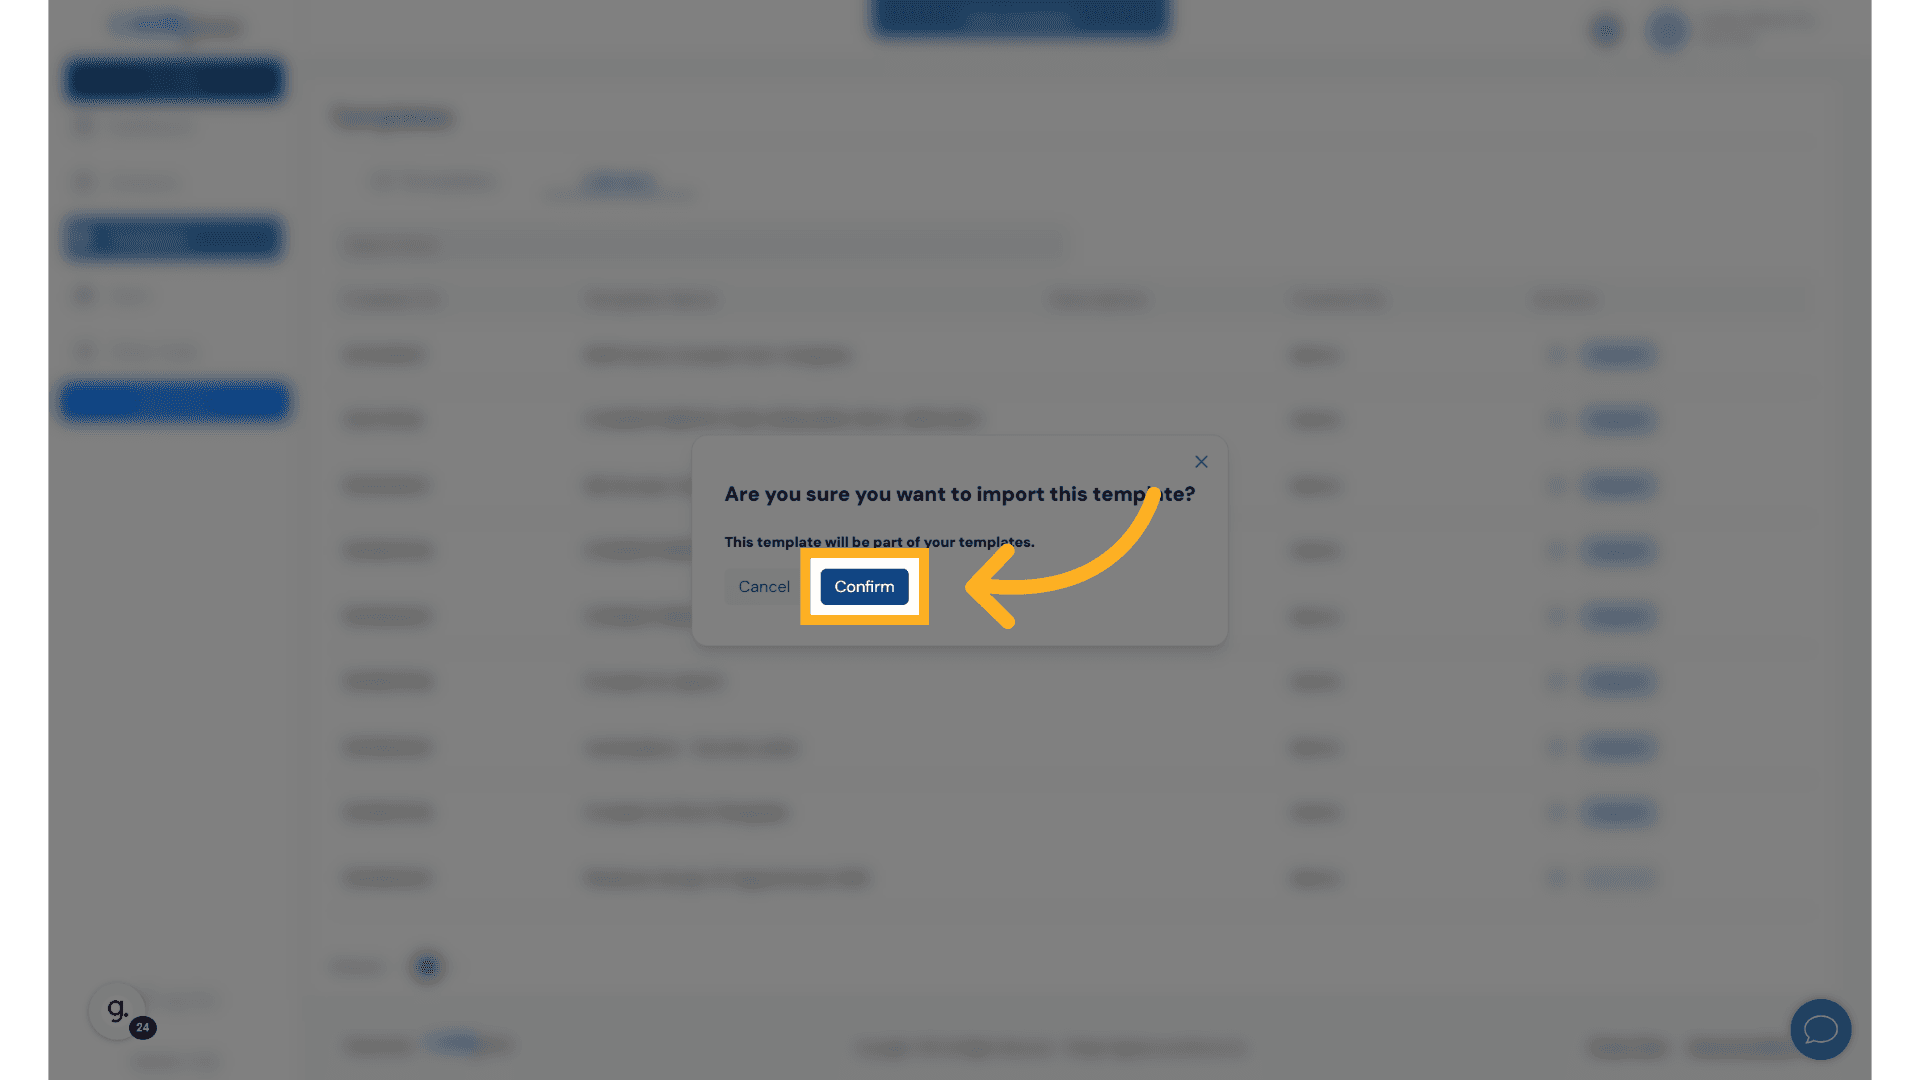
26. Click "Confirm"
Confirm the import action.
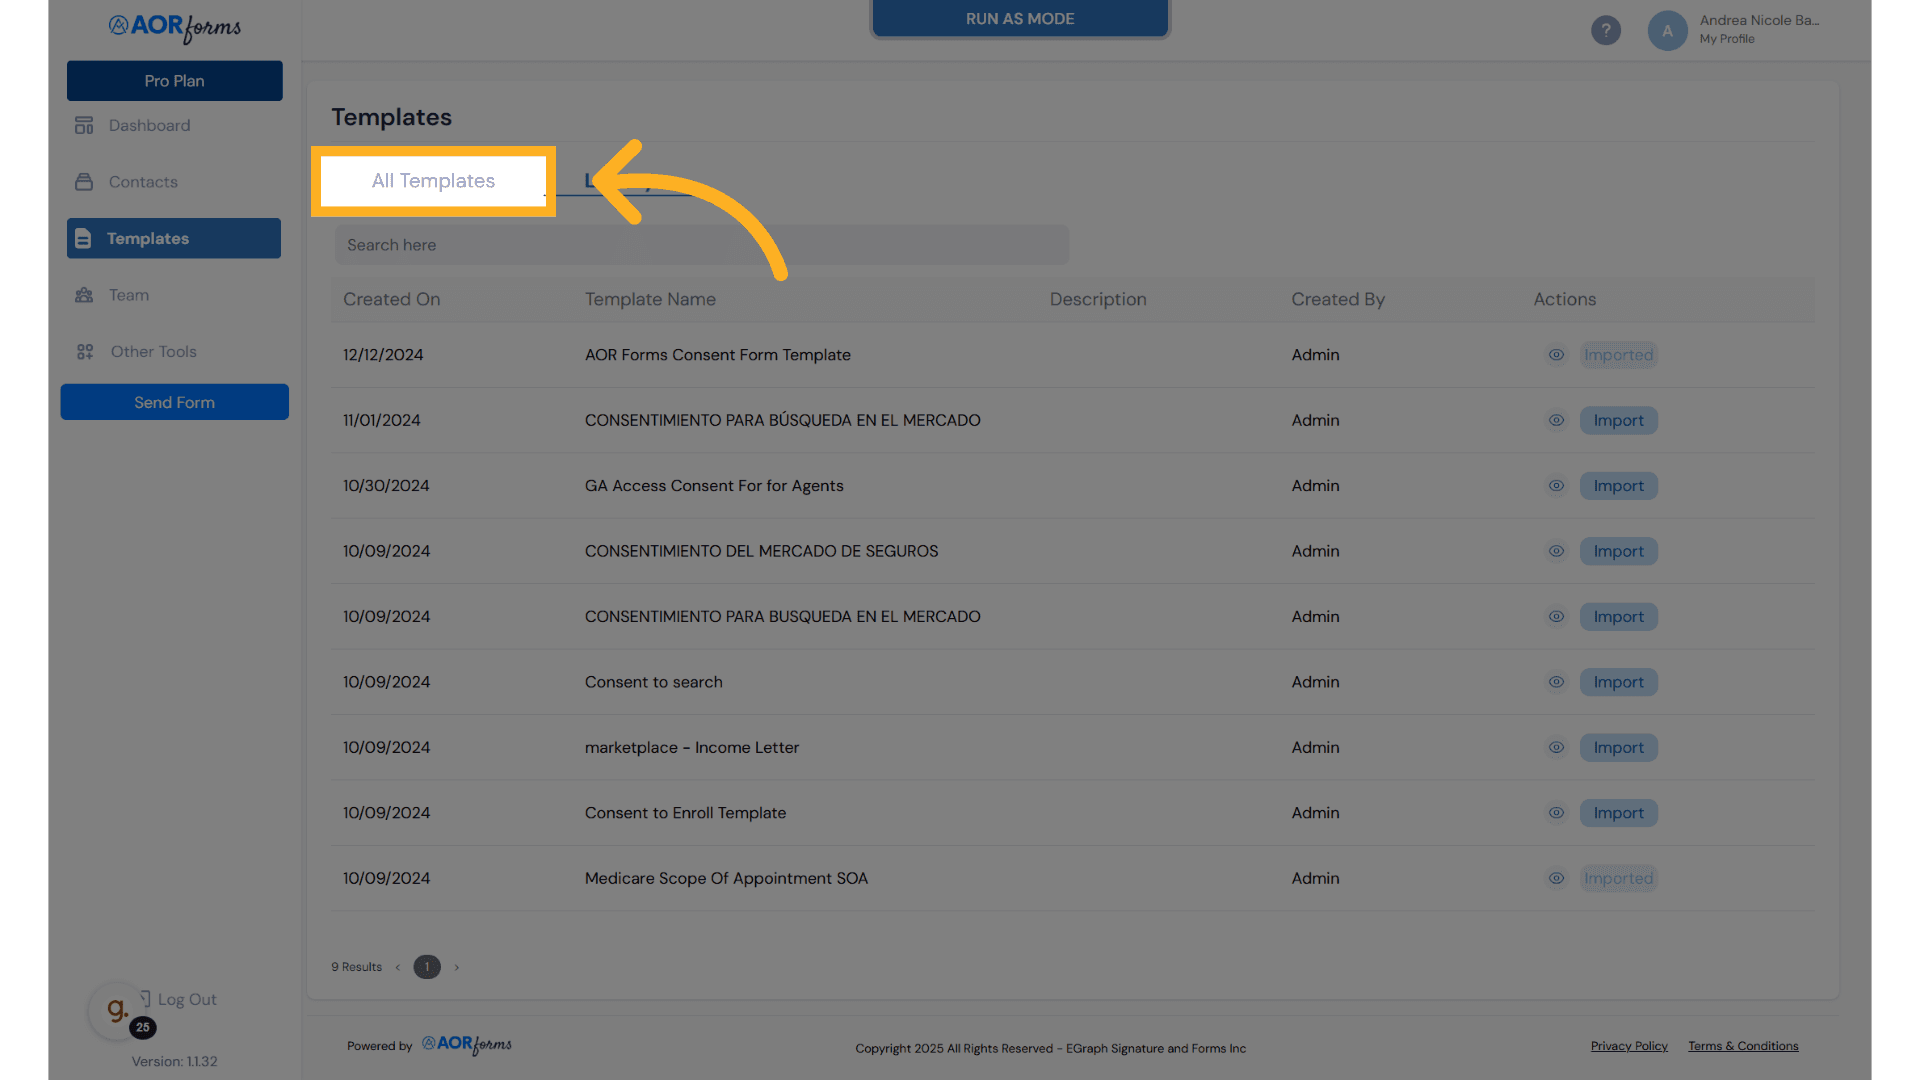
27. Click "All Templates"
Access all available templates.
28. Click here
Navigate to a specific section.

29. Click "{agent_company}"
Select the agent's company.

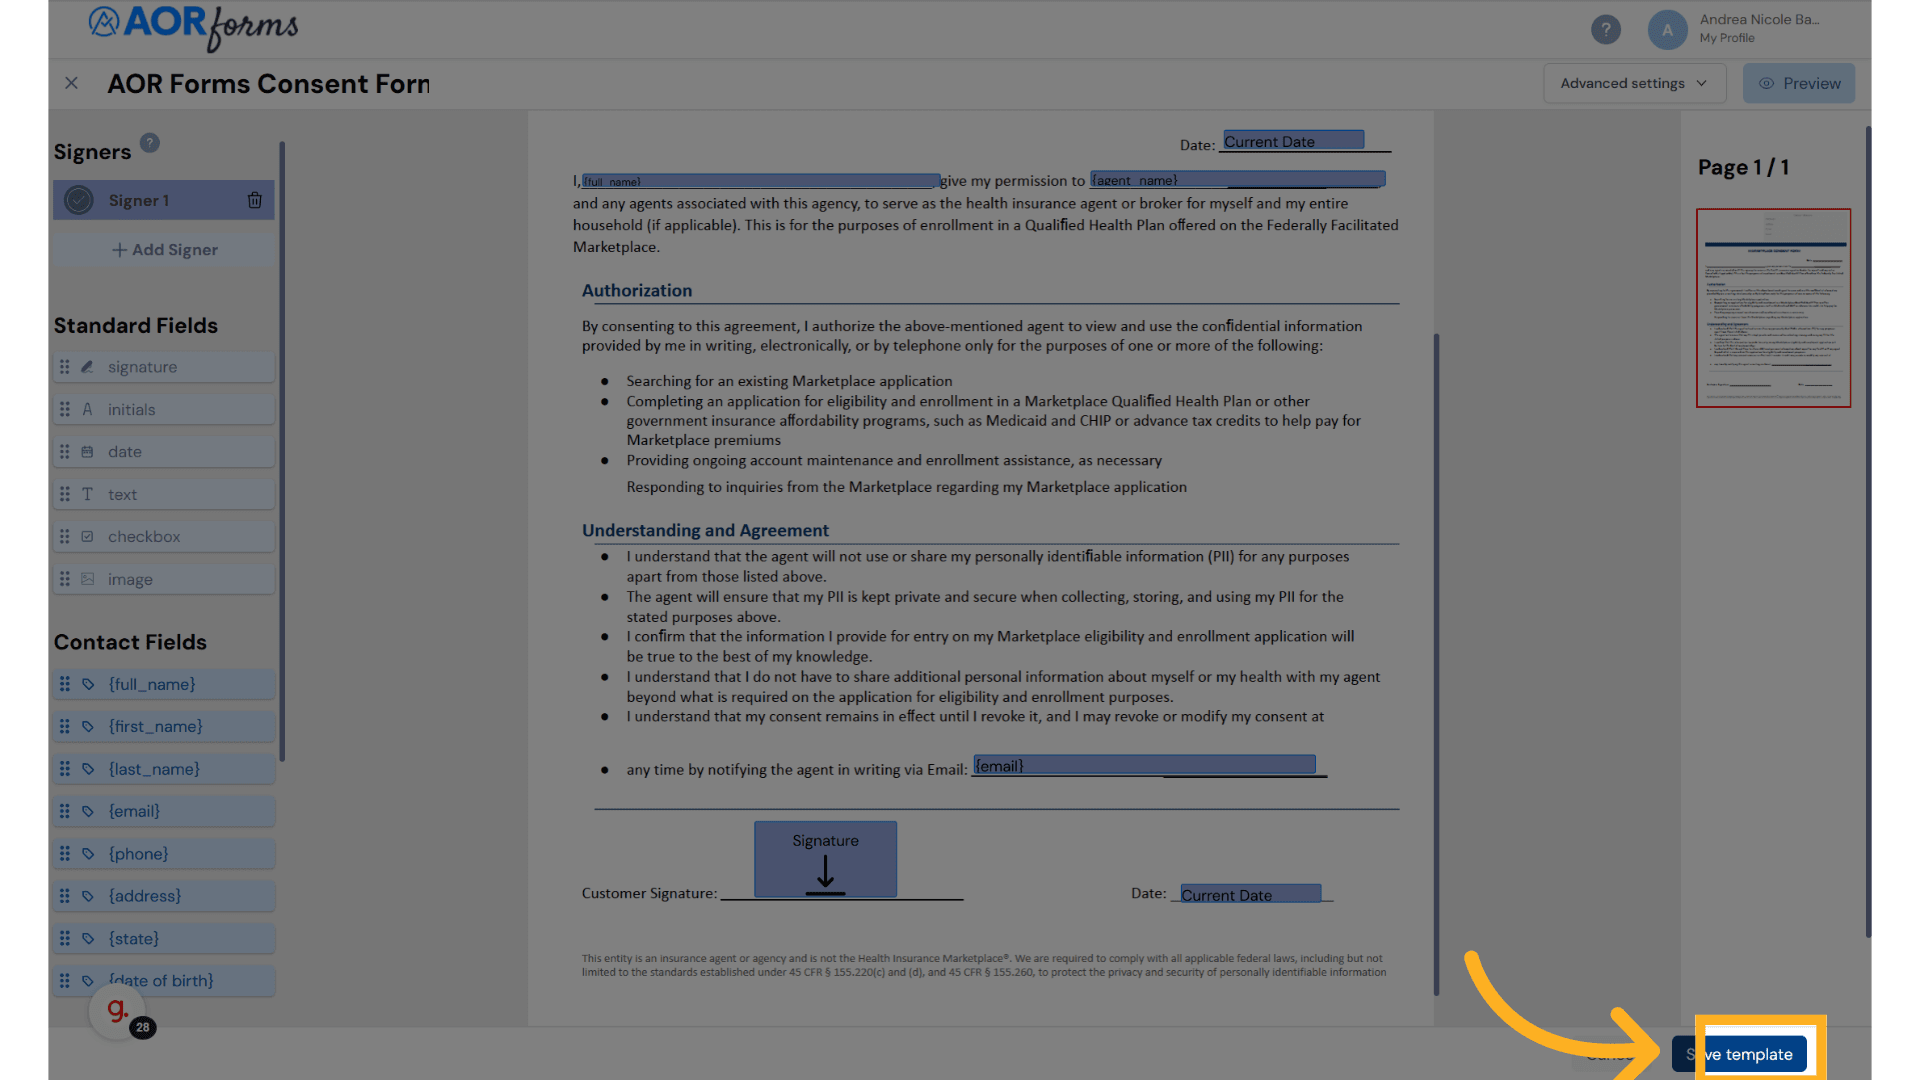
30. Click "Save template"
Save the template.
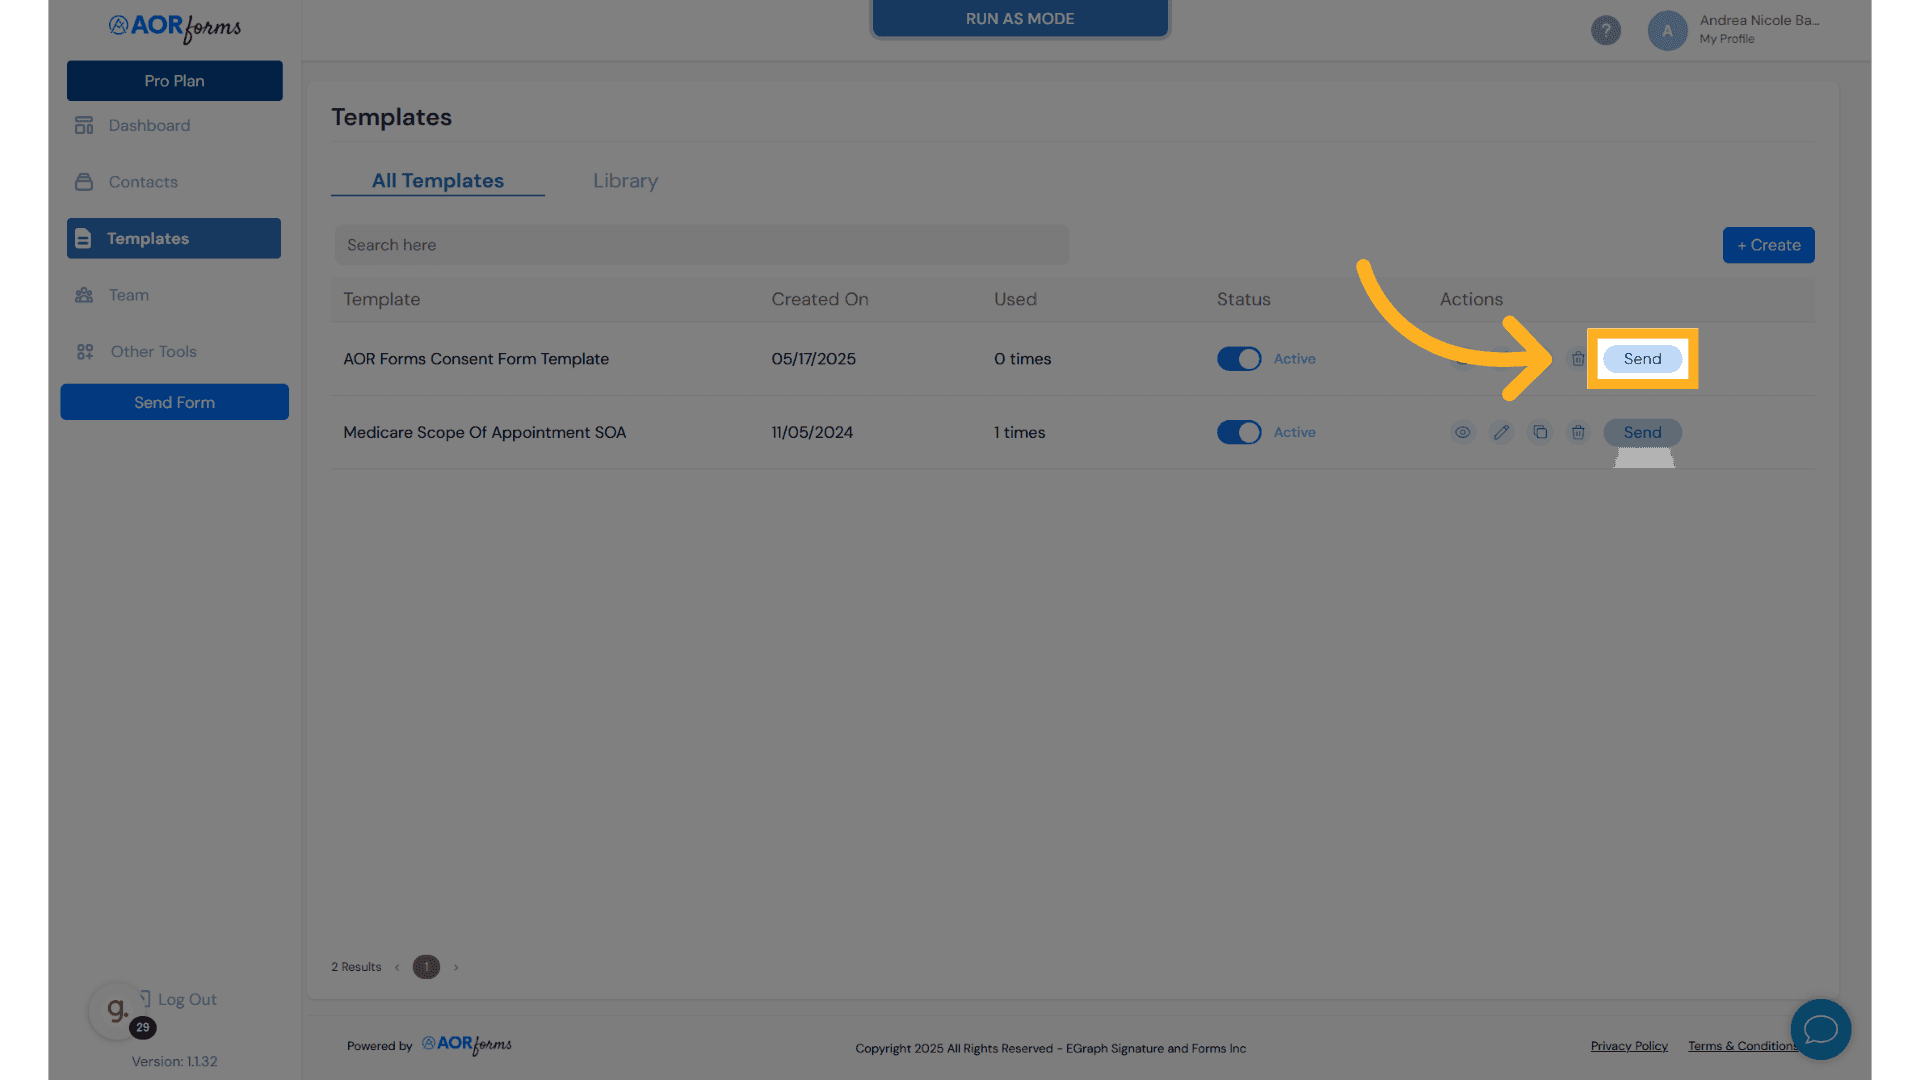
31. Click "Send"
Initiate the sending process.
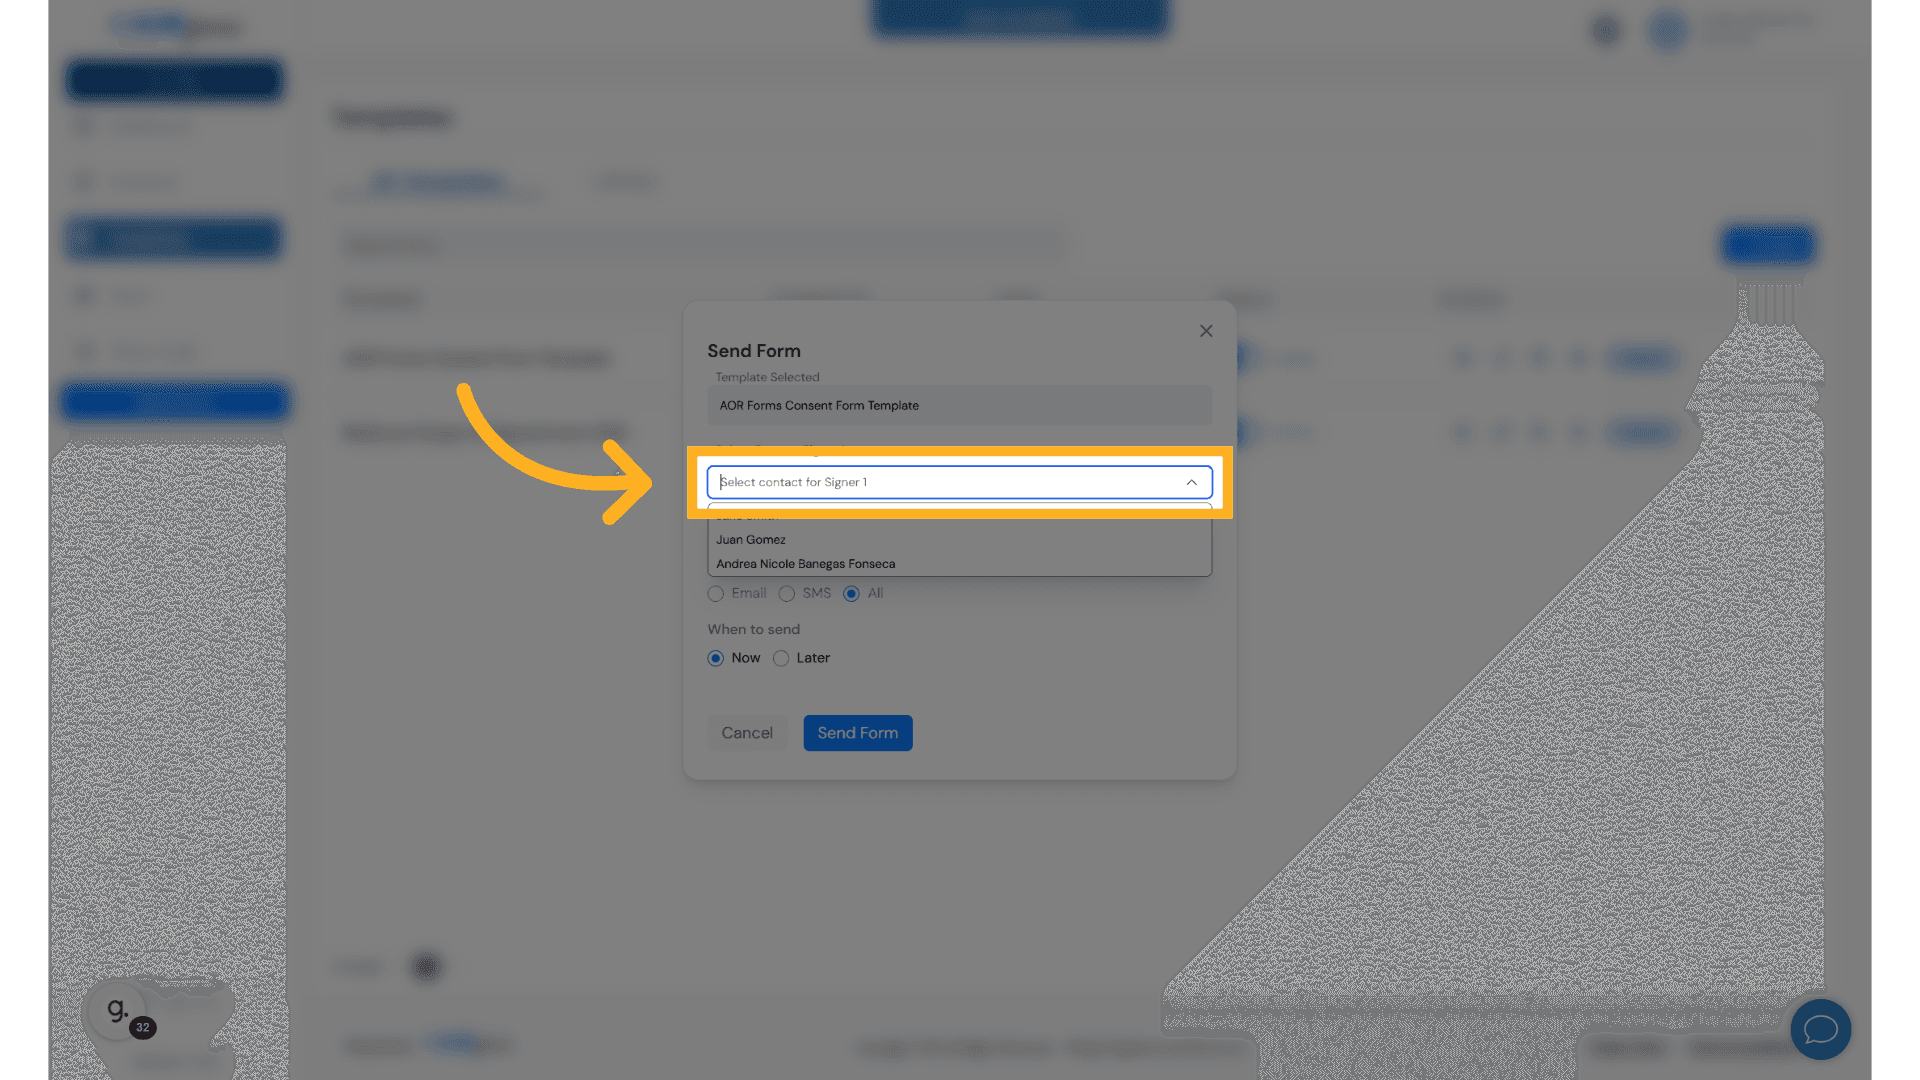
32. Click "Select contact for Signer 1"
Select the contact as Signer 1.

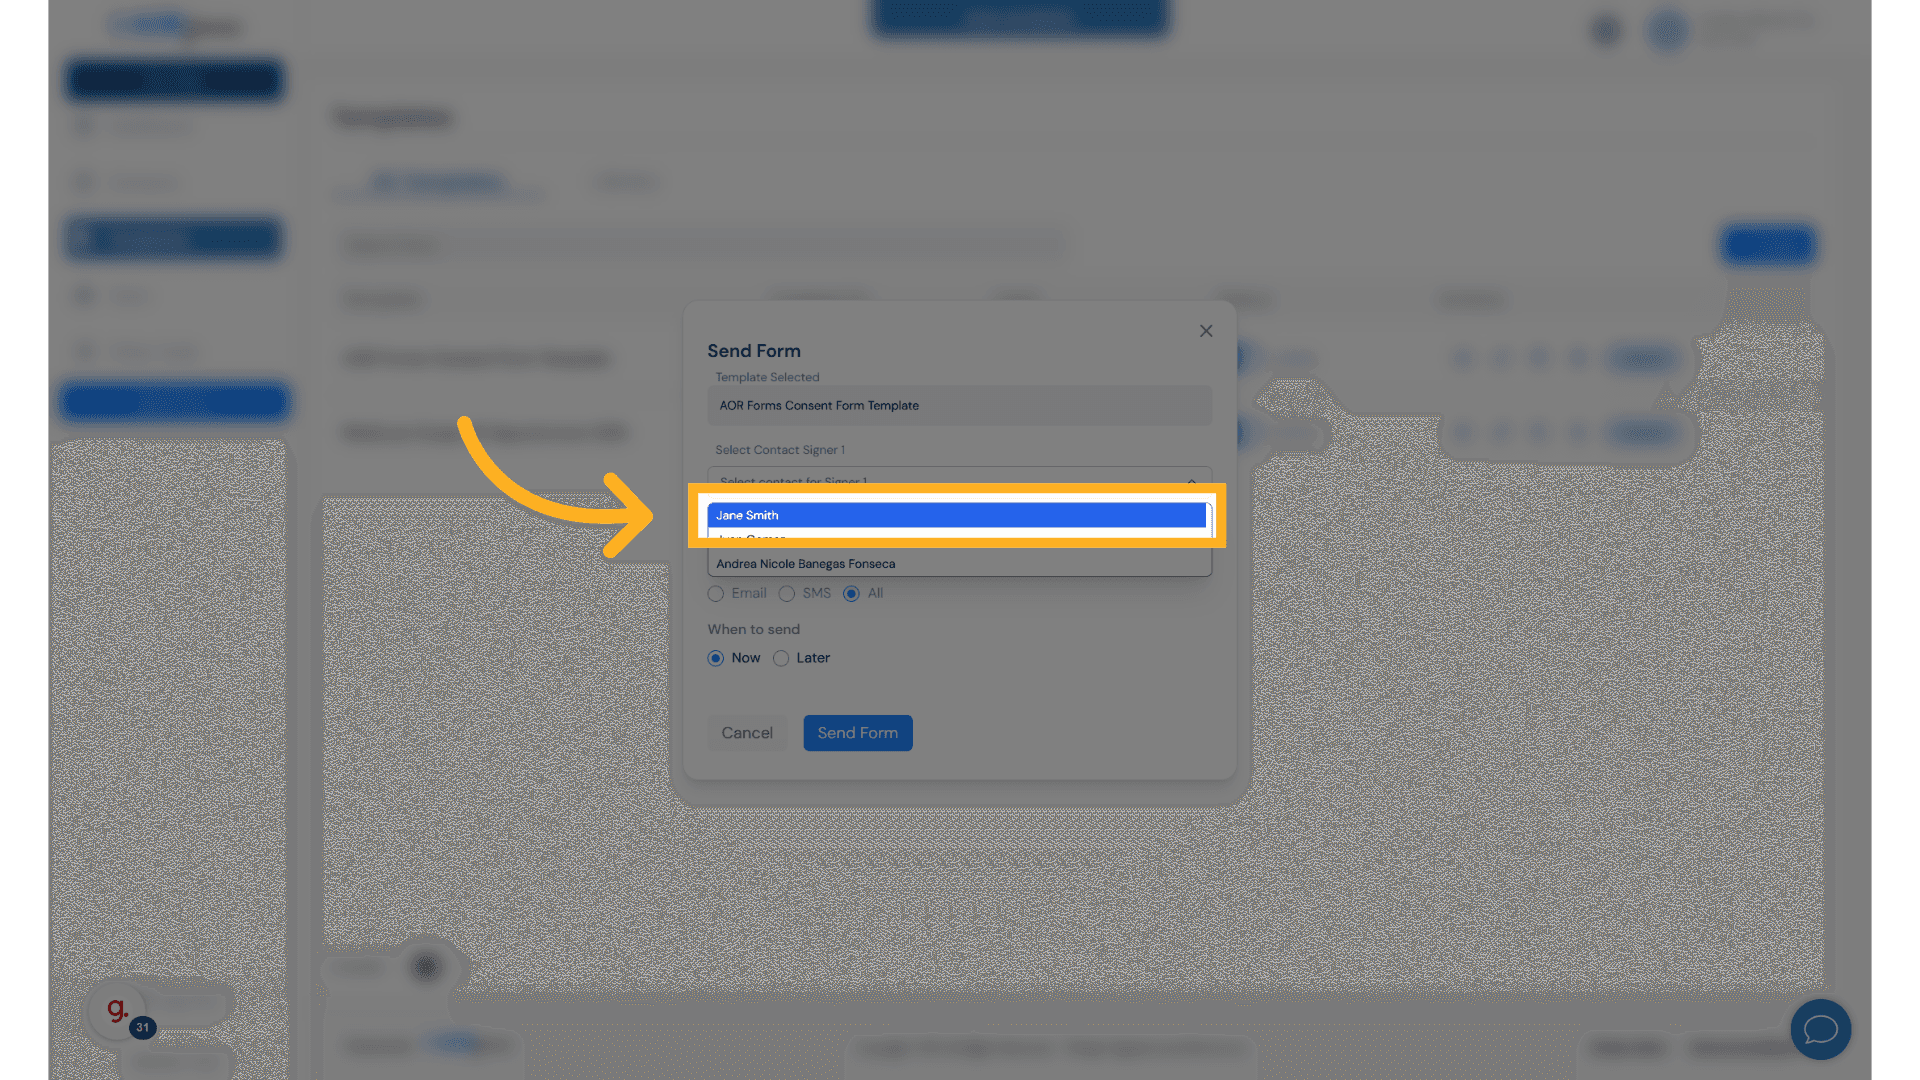
33. Click "Jane Smith"
Select Jane Smith as the contact.
34. Click "Select contact for Signer 1"
Select the contact as Signer 1.
35. Click "Jane Smith"
Select Jane Smith as the contact.

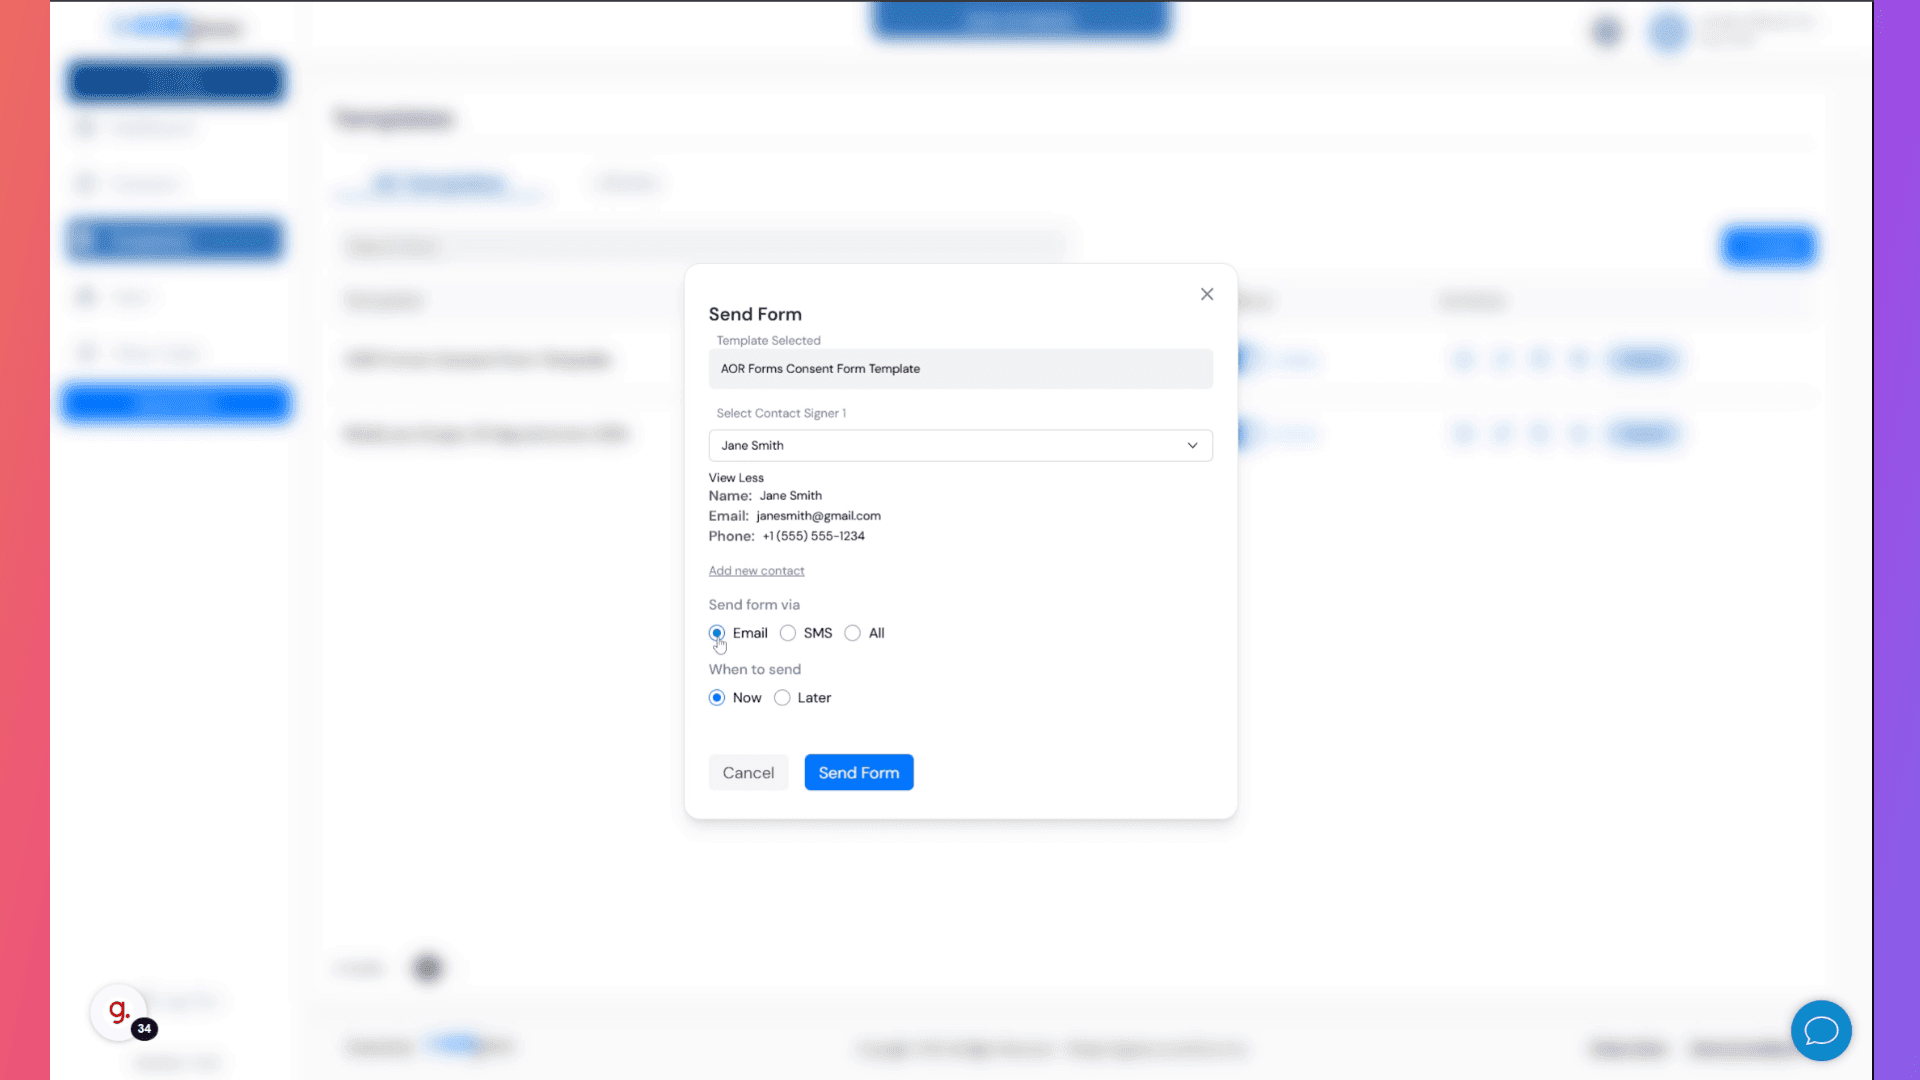
36. Click "Email"
Choose email as the sending method.

37. Fill "on"
Write your desired text.
38. Click "Later"
Schedule the sending for a later time.

39. Fill "on"
Fill in "on"

40. Click "Select date:"
Choose the date for sending.
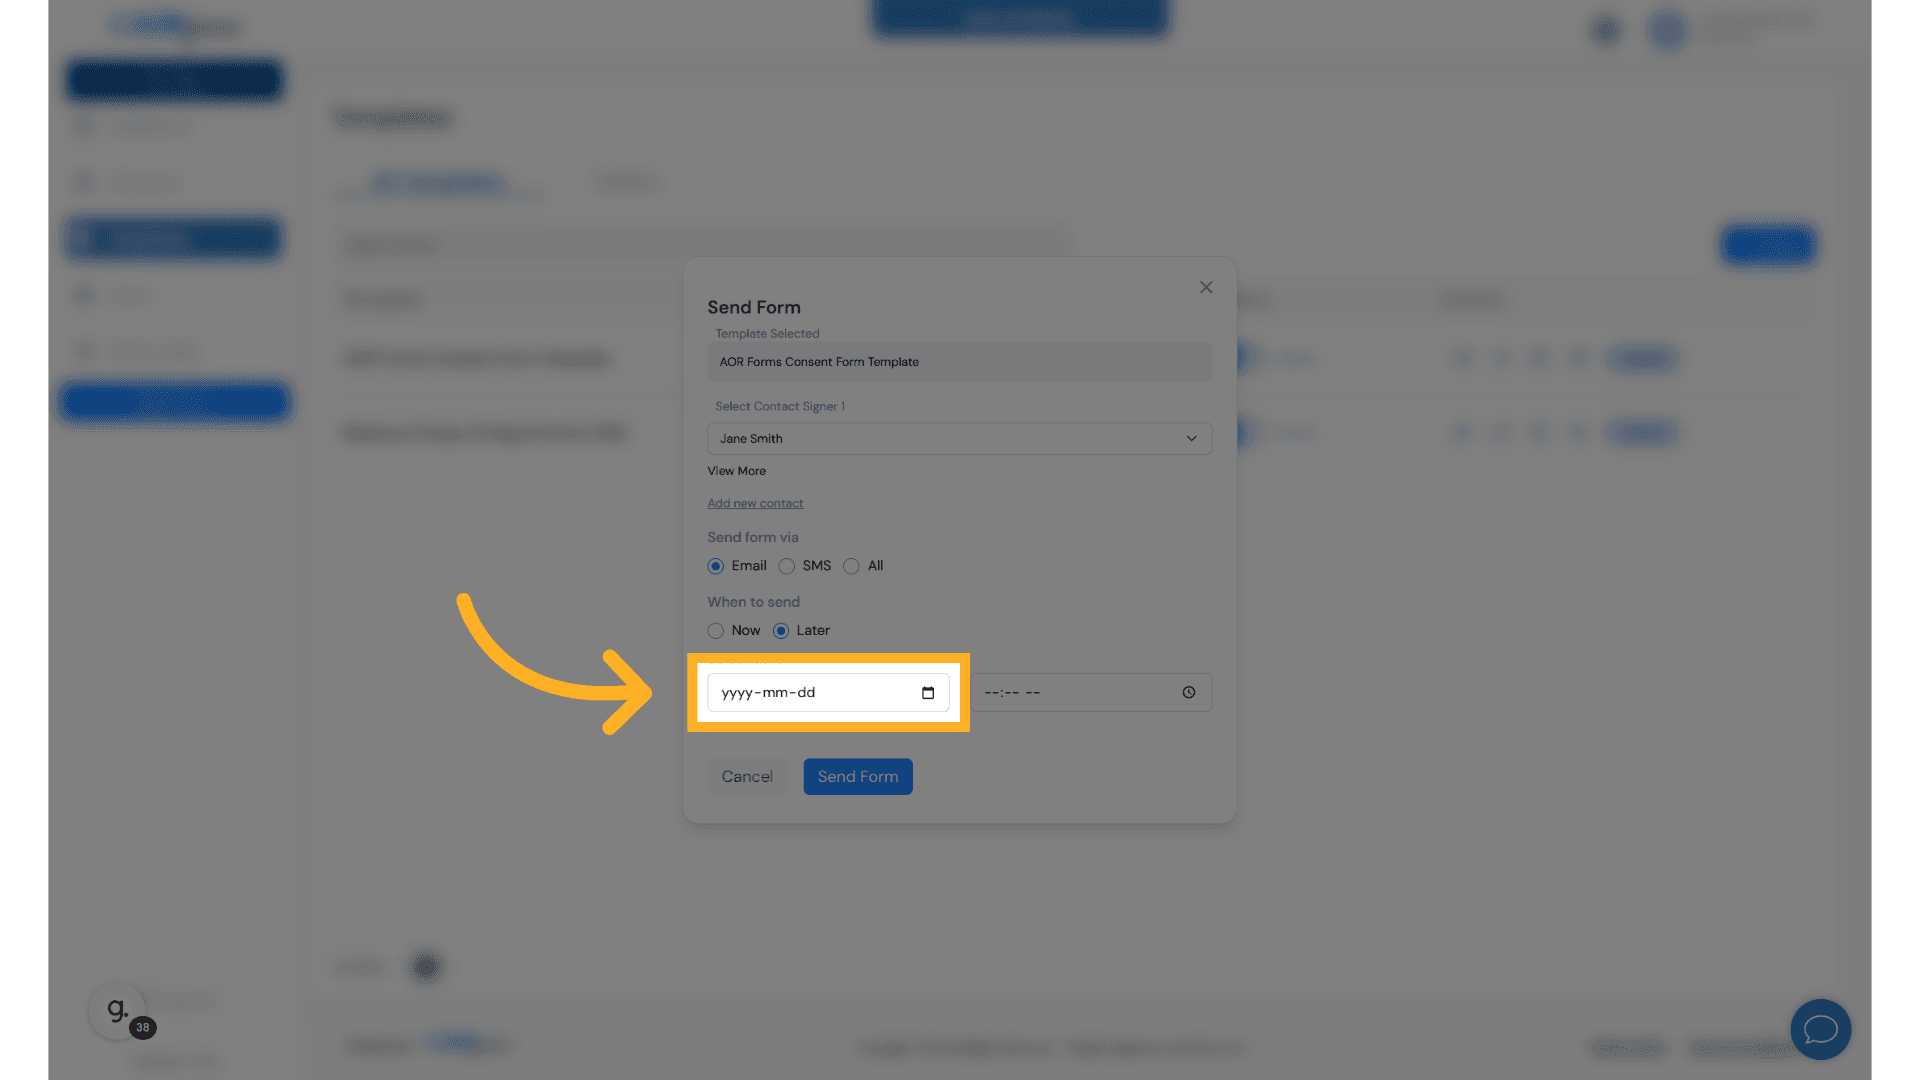
41. Fill "2025-05-19"
Enter "2025-05-19" in the provided field

42. Click here
Navigate to a specific section.

43. Fill "09:00"
Fill in the text box with "09:00"

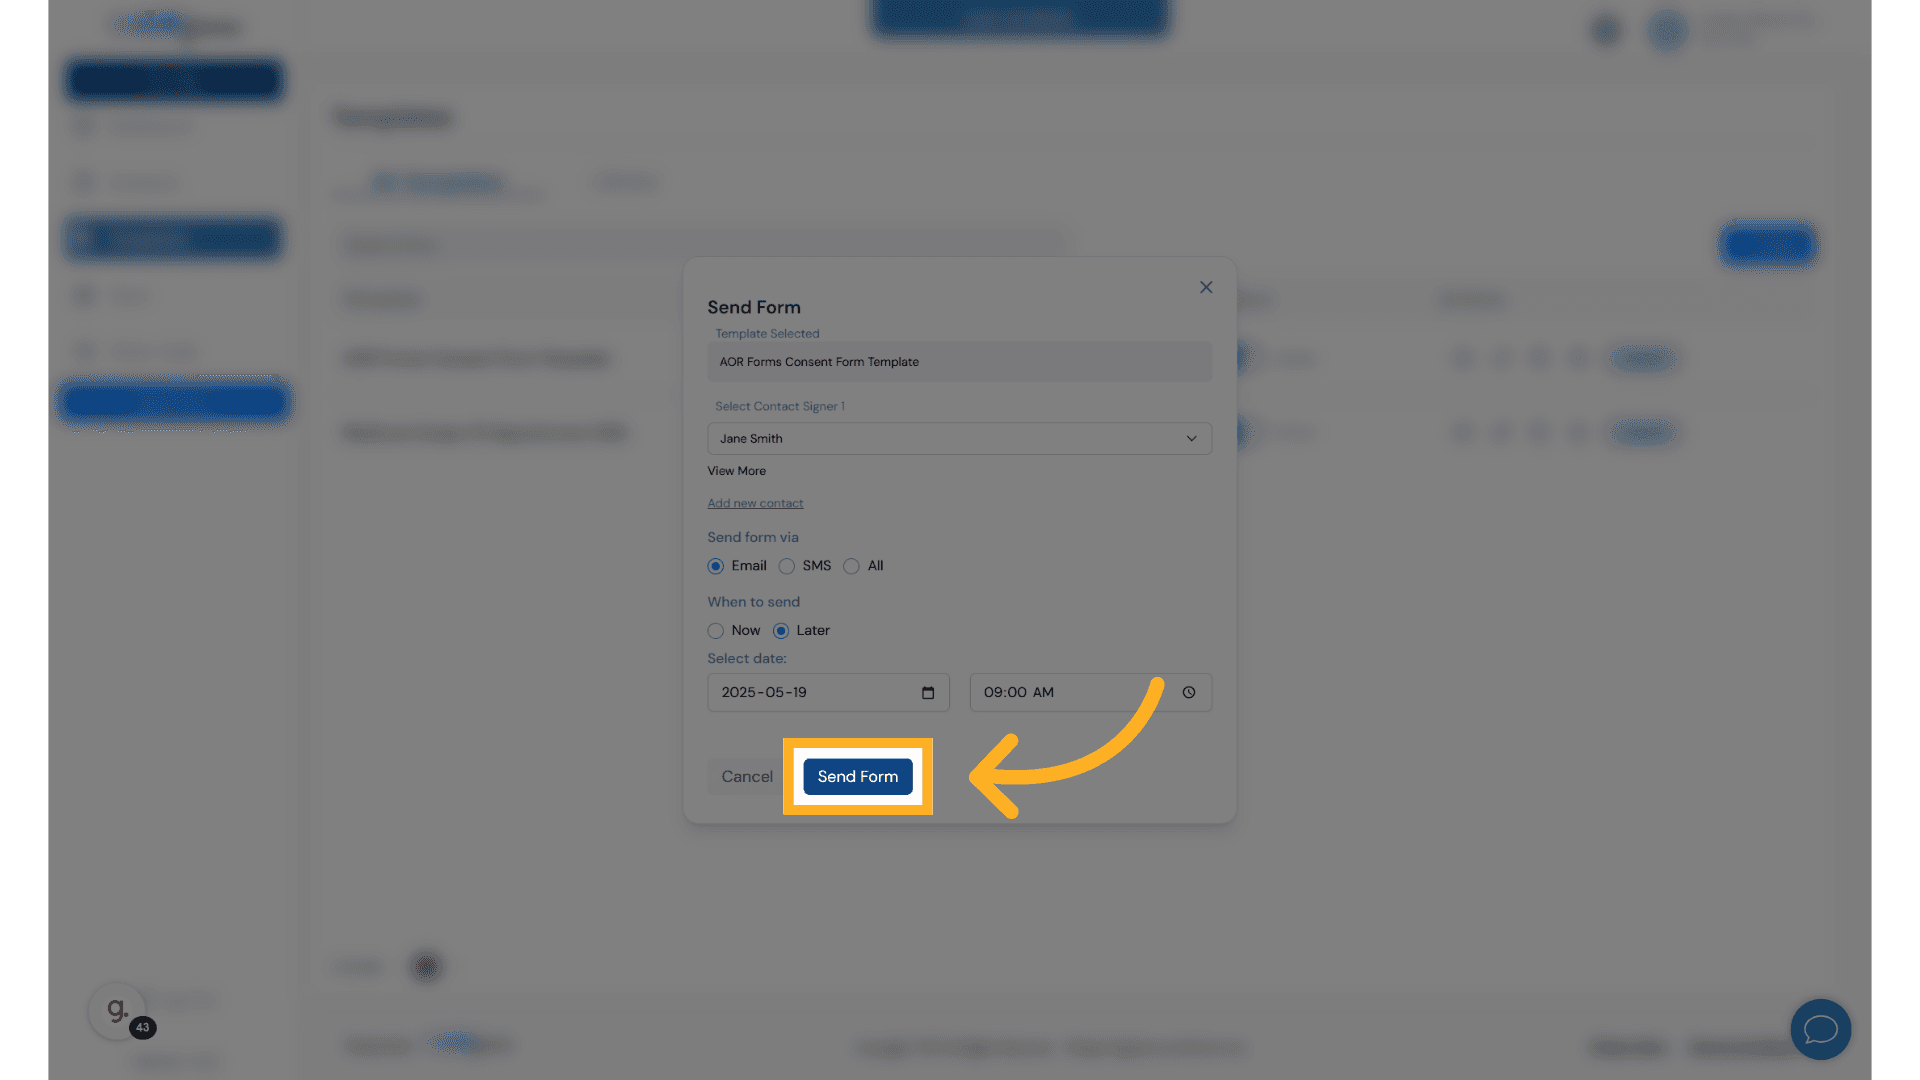
44. Click "CancelSend Form"
Cancel the form sending.
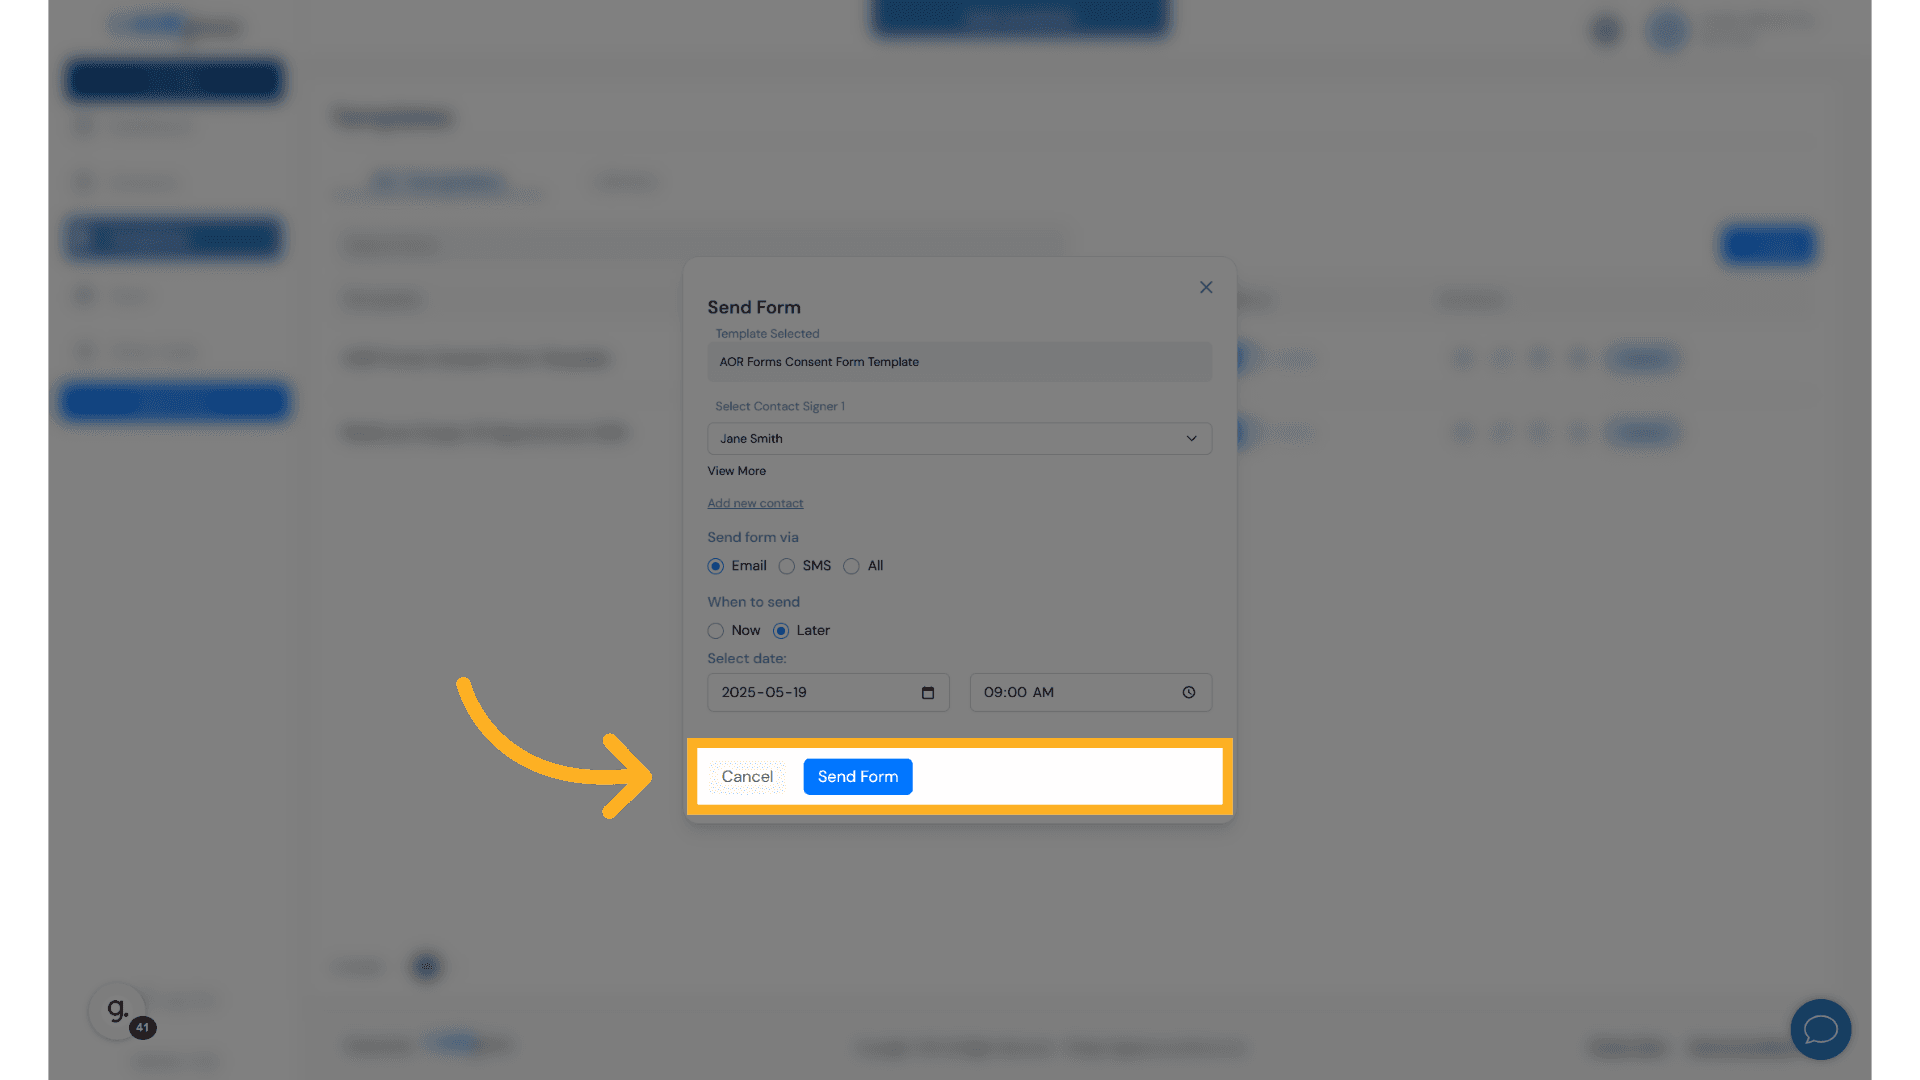
45. Click "Send Form"
Send the form.
46. Click "1 PendingReview"
Review the pending items.

This guide delved into the intricacies of using Aorforms to send your first document for signature, from adding contacts to selecting templates and sending the form. Mastering these steps is crucial for seamless document management in employee training scenarios.


Copyright 2025 All Rights Reserved - EGraph Signature and Forms Inc.
sales@aorforms.com | 1-888-854-9139